Introduction to Coffee Ice Cream
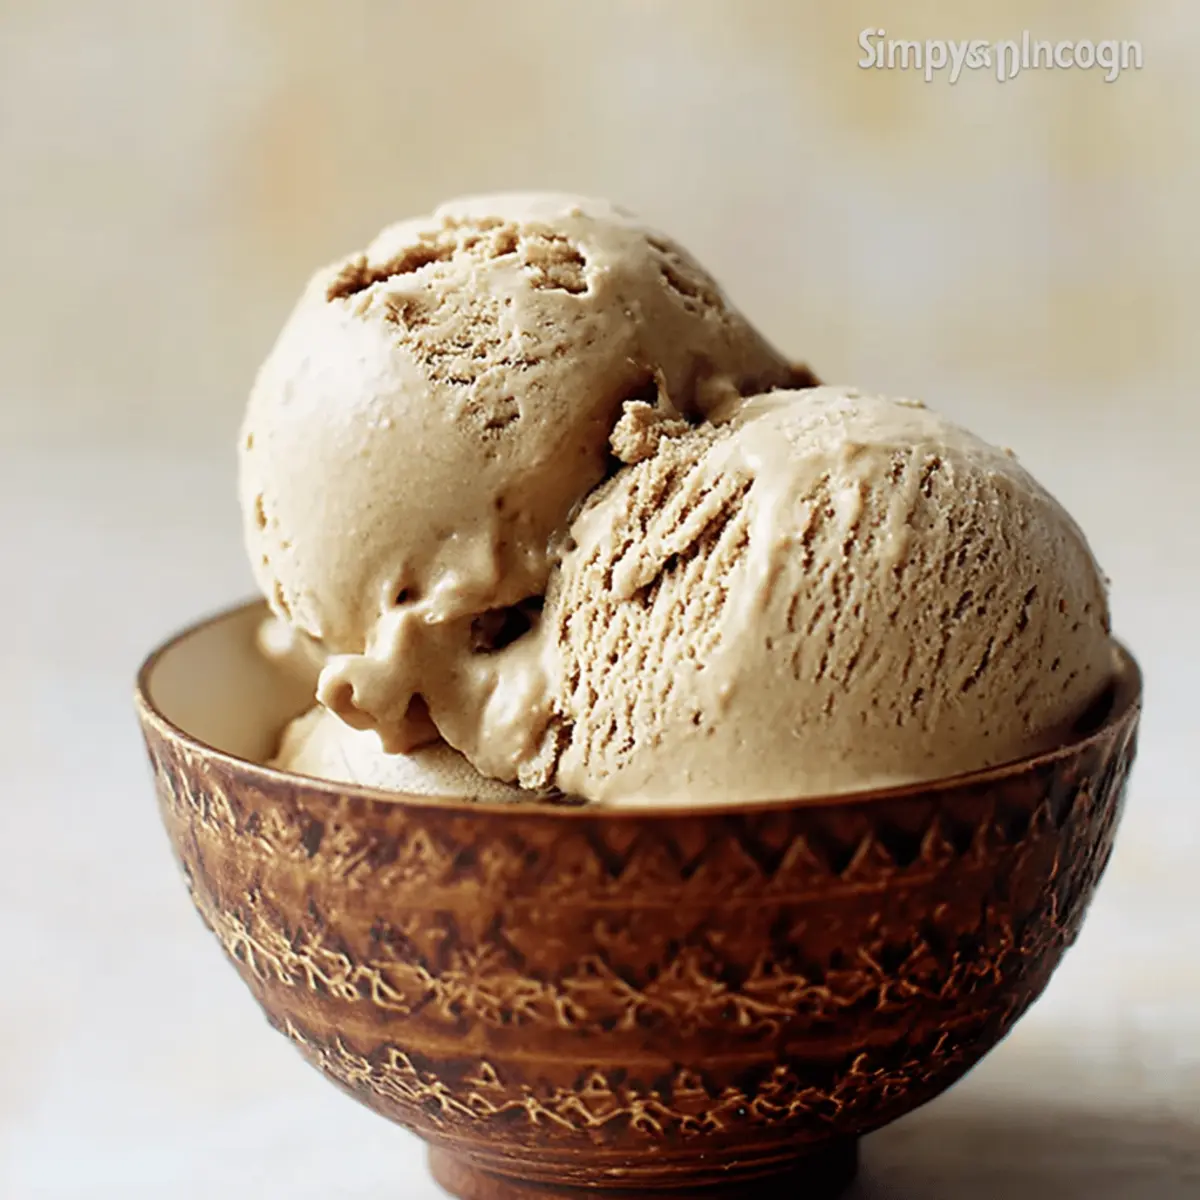
Coffee ice cream is not just another dessert; it’s the ultimate indulgence that perfectly merges the rich, aromatic notes of coffee with the creamy delight of ice cream. For young professionals balancing work, social life, and personal projects, there’s something incredibly rewarding about a scoop of this heavenly treat after a long day.
Why Coffee Ice Cream is the Ultimate Treat for Young Professionals
Imagine this: after wrapping up a busy week of meetings, deadlines, and Zoom calls, you sink into your comfy couch. It’s the little moments, like enjoying a bowl of coffee ice cream, that can elevate your evening. This delightful dessert offers more than just a refreshing flavor; it provides a burst of caffeine, a delightful pick-me-up that can energize your evening plans, whether it’s a movie marathon or catching up with a friend.
Here are a few reasons why coffee ice cream should be your go-to treat:
-
Satisfies Dual Cravings: Coffee ice cream caters to both your craving for something sweet and a desire for that robust coffee flavor. According to a survey by the National Coffee Association, over 60% of Americans drink coffee daily. Why not transform that beloved beverage into a dessert?
-
Makes Entertaining Easy: Hosting friends? Coffee ice cream can be a crowd-pleaser. Serve it alone, pair it with brownies, or create an affogato by pouring a shot of hot espresso over a scoop. Easy to whip up and a guaranteed hit!
-
Mood Booster: Research indicates that enjoying ice cream can release dopamine, the feel-good hormone. Combined with coffee’s mood-enhancing properties, coffee ice cream is not just a treat—it’s a moment of joy.
Are you ready to indulge? You don’t have to wait for a special occasion; making coffee ice cream at home can be your own personal reward at the end of a hectic week. Plus, homemade versions often allow for healthier ingredient choices, letting you control the sweetness and add-ins.
You can get started with our beloved coffee ice cream recipe to elevate your dessert game. For further creative inspiration, check out this insightful article on the evolving coffee culture that highlights how coffee has become a versatile ingredient in many cuisines.
Now, who’s craving a scoop?

Ingredients for Coffee Ice Cream
Essential ingredients for homemade coffee ice cream
To whip up a delightful batch of coffee ice cream, you’ll need some staple ingredients that create that rich, creamy base. Here’s what you should gather:
- Heavy Cream: The backbone of any ice cream, giving it a luxurious texture.
- Whole Milk: Balances the richness of cream for that perfect scoop.
- Granulated Sugar: Sweetens and enhances the coffee flavor.
- Coffee: Choose your favorite brew—espresso or strong drip coffee work wonders.
- Egg Yolks: For a custard-style base, these add creaminess and depth.
Check out Serious Eats for tips on varying the coffee types!
Optional add-ins to customize your flavor
Ready to make it your own? Consider these tasty add-ins:
- Chocolate Chips: A touch of bittersweet chocolate can elevate flavors.
- Nuts: Toasted almonds or hazelnuts for an added crunch.
- Caramel Swirls: Drizzle in some caramel for a sweet twist.
Experiment with flavors and textures to create your ideal coffee ice cream. Who knows, you might stumble upon a signature blend!
Step-by-Step Preparation for Coffee Ice Cream
Who doesn’t love a delightful scoop of homemade coffee ice cream on a warm afternoon? It’s creamy, rich, and oh-so-satisfying! Let’s walk through a simple yet thorough preparation method that will elevate your ice cream game. Grab your apron, and let’s get started!
Gather and Prepare Your Ingredients
First things first, let’s round up the essentials. Here’s what you’ll need:
- 2 cups heavy cream: The star ingredient for your creamy texture.
- 1 cup whole milk: To balance the richness and add a silky smoothness.
- 3/4 cup granulated sugar: Adjust to taste, especially if you like it sweeter.
- 1 cup brewed coffee: Strong and bold is the key here!
- 1 teaspoon vanilla extract: This will add a lovely warmth to the flavor.
- A pinch of salt: To enhance that sweet, creamy profile.
Make sure all your ingredients are at room temperature; this helps them mix more seamlessly. If you’re using freshly brewed coffee, let it cool down a bit. You can also check out this Coffee Brewing Guide for tips on achieving the perfect cup.
Brew the Perfect Coffee Base
Now that you have everything on hand, it’s time to brew your coffee. A rich coffee base is essential for bringing out that robust flavor in your ice cream. If you prefer espresso, all the better! Use your favorite brewing method, whether it’s a French press, an espresso machine, or a classic drip pot. Aim for about 1 cup of strong coffee; you want the taste to shine even when combined with the cream.
Don’t forget to taste your coffee before moving on. Is it bold enough? If not, consider adding a bit more coffee grounds to your brew next time!
Mix the Cream and Sweeteners
Once your coffee is ready, let’s whip up the cream mixture. In a large mixing bowl, combine:
- Heavy cream
- Whole milk
- Granulated sugar
- Vanilla extract
- Salt
Using a whisk, mix these ingredients until the sugar is fully dissolved. This should take about 1–2 minutes, and you’re aiming for a smooth, well-blended mixture. The vanilla extract is crucial; it will enhance the overall flavor and bring warmth to your ice cream.
Combine the Coffee and Cream Mixtures
This step is where the magic happens! Slowly pour your brewed coffee into the cream mixture, stirring gently as you go. You want to achieve an even blend, so don’t rush it. The rich coffee and creamy base should come together beautifully, creating a luscious texture.
If desired, you can experiment with flavorings here, too. Want a mocha twist? Add in some cocoa powder! Just remember to adjust the sugar accordingly.
Churn Your Mixture to Creamy Perfection
Now comes the fun part—churning! Pour your combined mixture into an ice cream maker. Follow the manufacturer’s instructions for your specific machine. Generally, you’ll need to churn for about 20–30 minutes, or until it reaches a soft-serve consistency. As it churns, the mixture will become thick and creamy—the anticipation is real!
If you don’t have an ice cream maker, don’t worry. You can pour the mixture into a shallow dish and freeze it, stirring every 30 minutes to break up the ice crystals. This method may take longer, but the result is still totally worth it.
Freeze Your Ice Cream
Once you’ve achieved that perfect creamy texture, transfer the churned ice cream to an airtight container. Smooth the top with a spatula and cover it tightly. Freeze for at least 4 hours (or overnight if you can resist!). When you’re ready to indulge, let it sit at room temperature for 5–10 minutes for easier scooping.
And there you have it—your own homemade coffee ice cream! The blend of flavors, the creamy texture, and the satisfaction of making it yourself are simply unbeatable.
Enjoy your treat, and remember to share it with friends (or keep it all to yourself… we won’t judge!).
Variations of Coffee Ice Cream
Coffee ice cream isn’t just a single flavor; it’s a canvas for creativity! Let’s explore some delightful variations that cater to every palate.
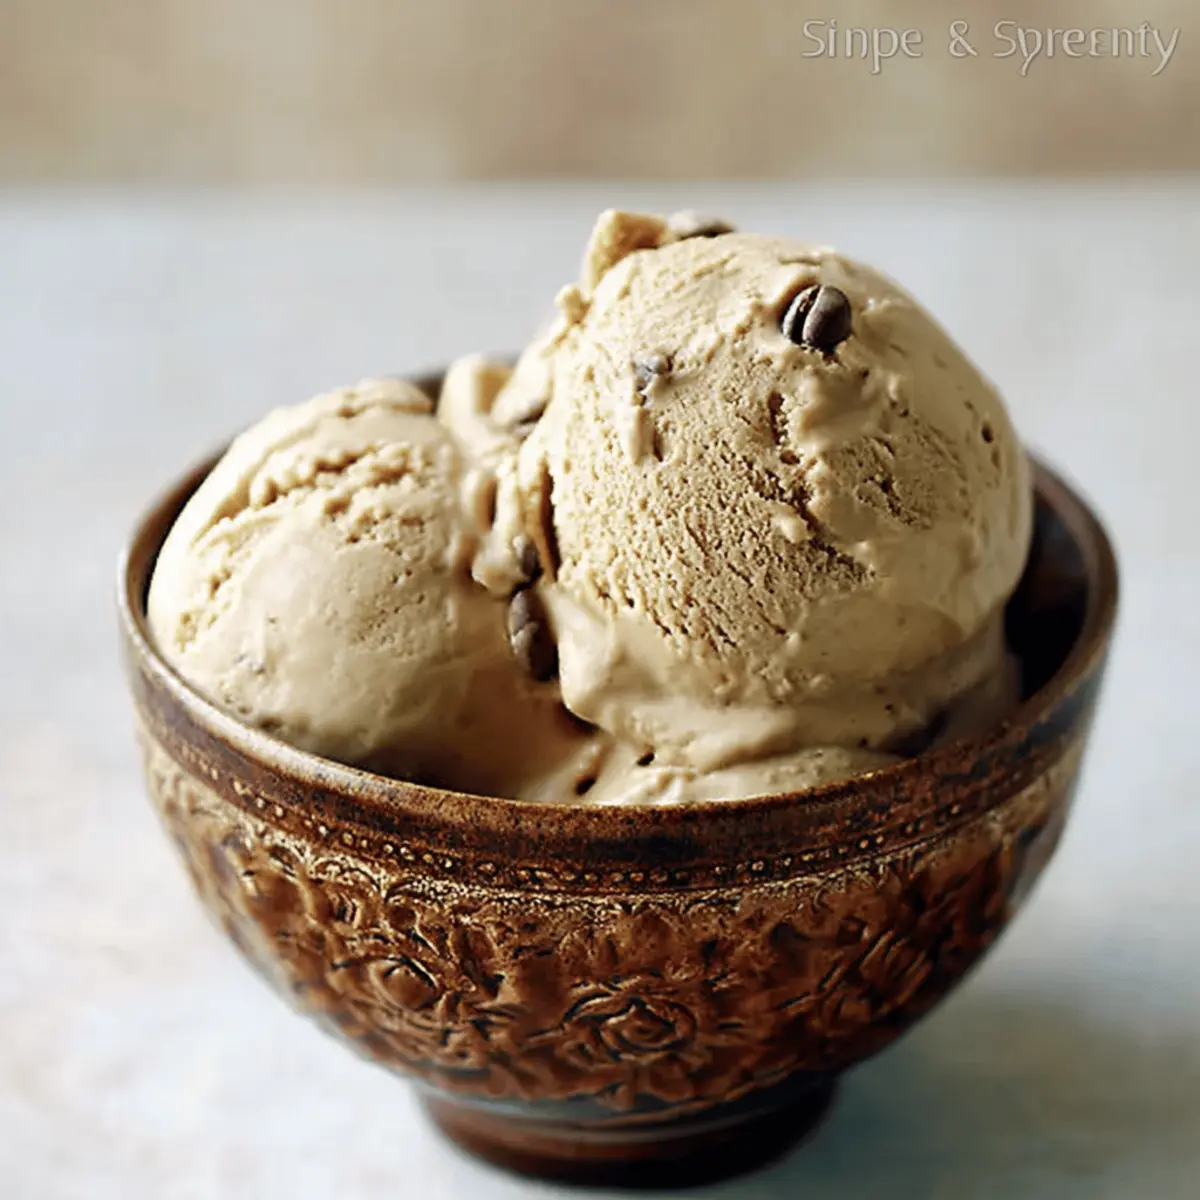
Espresso Chip Coffee Ice Cream
Imagine rich, bold espresso combined with creamy goodness. Espresso chip coffee ice cream elevates the classic treat with chocolate shavings or chunks. The contrast between the deep coffee flavor and the sweetness of chocolate makes every scoop an indulgent experience. This variation is perfect for those late-night cravings when you want something comforting yet energizing. You can even use gourmet chocolate to enhance the overall flavor profile.
If you want to learn more about flavor pairings, this guide offers some fantastic insights.
Mocha Swirl Coffee Ice Cream
For a chocolate-lover’s twist, mocha swirl coffee ice cream marries the best of both worlds: rich coffee and luscious chocolate. To achieve this, simply blend a chocolate fudge or syrup into your coffee ice cream base before freezing. The result? An eye-catching and delicious swirl that tempts everyone, from kids to adults. Each bite delivers a harmonious balance of coffee and chocolate, perfect for sipping your favorite mocha!
Vegan Coffee Ice Cream Options
Don’t think you’re left out if you’re dairy-free! There are several delightful ways to enjoy coffee ice cream without dairy. Using coconut milk or almond milk as a base creates a creamy texture that chimes beautifully with coffee. Add in some date syrup for natural sweetness, and you’ve got a decadent treat that rivals its dairy counterparts. Plus, with plant-based diets on the rise, these vegan options are not only tasty but increasingly popular!
So, which variation will you try first? Whether you’re whipping up a classic or experimenting with something new, coffee ice cream is sure to please!
Tips and Notes for Successful Coffee Ice Cream
Essential Tools and Equipment
Making coffee ice cream at home can be incredibly fulfilling, but having the right tools is key. Here’s what you’ll need:
- Ice Cream Maker: A reliable machine is essential for achieving the perfect texture. Options range from manual to electric models, so choose one that fits your lifestyle.
- Mixing Bowls: Invest in sturdy, large mixing bowls to handle your creamy concoction efficiently.
- Instant-Read Thermometer: This tool ensures you achieve the right temperatures, especially when heating the cream and coffee mixture.
Common Mistakes to Avoid
Even seasoned home chefs can stumble! Here are some common pitfalls when making coffee ice cream:
- Using Low-Quality Coffee: The flavor of your ice cream hinges on quality ingredients. Go for fresh, ethically sourced coffee beans to elevate your dessert.
- Rushing the Chilling Process: Be patient—allow your mixture to chill completely before churning. This step is crucial for a smoother texture.
- Skipping the Taste Test: Always taste your base before freezing. Adjust sweetness or coffee strength to perfection for your palate.
By avoiding these pitfalls and utilizing the right tools, your coffee ice cream will be a hit! For more tips on sourcing quality coffee, check out Coffee Quality Institute.
Serving Suggestions for Coffee Ice Cream
Perfect Pairings with Toppings and Desserts
When it comes to coffee ice cream, the right toppings can elevate your dessert to a new level. Try drizzling it with warm chocolate fudge or caramel sauce for a luxurious touch. You can even sprinkle some crushed nuts like hazelnuts or walnuts for a satisfying crunch. Fresh fruits like bananas or strawberries not only add color but also introduce a refreshing quality. Want to take it up a notch? Pair it with a slice of rich chocolate cake or a buttery croissant for a delightful contrast.
Creative Ways to Serve Coffee Ice Cream
Ready to impress your friends? Consider crafting a coffee ice cream float by adding a splash of soda or cold brew coffee. This refreshing twist will surprise and delight your guests! Alternatively, blend the ice cream into a rich milkshake, and top it with whipped cream for that Instagram-worthy moment. You could also scoop the ice cream into an espresso shot for a thrilling affogato experience. The warm coffee over cold ice cream creates a tantalizing mix that’s perfect for any gathering.
Whether you go simple or extravagant, coffee ice cream offers endless possibilities for enjoyment. So grab a scoop and experiment!
Time Breakdown for Coffee Ice Cream
Preparation time
Making coffee ice cream starts with some simple prep! You’ll need about 15-20 minutes to gather your ingredients, brew your coffee, and whip up the base. This is your moment to relish those rich coffee aromas—try different brewing methods if you can for an extra kick!
Churning and freezing time
Next, the fun begins. Churning your mixture takes about 20-30 minutes, depending on your ice cream maker. A few minutes of waiting is well worth the blissful scoop you’ll enjoy later. After churning, pop it in the freezer for at least 4 hours to achieve that perfect, creamy texture.
Total project time
In total, you’re looking at about 5-6 hours, including freezing time. While it may seem like a commitment, remember—great things take time! Plus, consider browsing some tips on perfecting your ice cream technique to make this process even better!
Nutritional Facts for Coffee Ice Cream
Calories per Serving
When indulging in coffee ice cream, it’s good to keep an eye on how it fits into your daily intake. Typically, a serving (about half a cup) contains around 200-300 calories. This can vary based on the specific ingredients you use, especially if you opt for higher fat content or include mix-ins.
Key Nutrients
Beyond just calories, this delightful treat offers some nutritional benefits worth noting:
- Calcium: Important for bone health, with about 10% of the daily recommended value per serving.
- Caffeine: A lovely perk-me-up for those needing a boost (about 30-50 mg, depending on how strong your brew is).
- Fats & Sugars: Keep in mind the fat and sugar content, which can add up quickly!
Adjustments for Healthier Versions
Want to enjoy coffee ice cream guilt-free? Here are a few tips for a lighter version:
- Use almond or coconut milk instead of heavy cream.
- Try natural sweeteners like honey or maple syrup in moderation.
- Incorporate Greek yogurt to add protein and reduce fat.
By making simple swaps, you can craft a deliciously cool dessert that aligns with your health goals. Curious about the health benefits of low-fat ice creams? Check out this resource for more insights! So next time you’re in the mood for a treat, remember these facts and enjoy your homemade coffee ice cream with a little more confidence!
FAQs about Coffee Ice Cream
Can I use decaf coffee to make coffee ice cream?
Absolutely! Using decaf coffee for your coffee ice cream can be a great way to enjoy that rich coffee flavor without the caffeine jolt. This can be especially appealing for those who want a delightful dessert in the evening without tossing and turning later. Just make sure to choose a good quality decaf coffee for the best flavor.
What’s the best way to store homemade coffee ice cream?
Storing your homemade coffee ice cream properly will keep it fresh and delicious. Here are some handy tips:
- Use an airtight container: This prevents ice crystals from forming and keeps your ice cream creamy.
- Cover the surface: For an extra layer of protection, place a piece of parchment paper directly on the surface of the ice cream before sealing the container. This minimizes exposure to air.
- Store in the back of the freezer: The back is usually the coldest part, which helps maintain the perfect consistency.
For more detailed storage tips, check out resources from The Ice Cream Science.
How can I make my ice cream creamier?
If you’re aiming for that super creamy texture in your coffee ice cream, here are some expert tips:
- Add more egg yolks: They act as emulsifiers and result in a smoother cream.
- Use heavy cream: A higher fat content can significantly enhance the creaminess.
- Don’t skip the churning step: Churning incorporates air into the mixture, creating that luscious texture we all love.
Small adjustments can yield a surprisingly big difference in the end product. So, are you ready to whip up your own delectable coffee ice cream? Your taste buds will thank you!
Conclusion on Coffee Ice Cream
Recap of Why This Recipe Will Elevate Your Dessert Game
Making your own coffee ice cream is not only a delightful experiment but also a way to bring café-quality treats to your home. This recipe combines simple ingredients to create a rich, velvety dessert that coffee lovers will adore.
- Flavorful indulgence: The coffee’s natural richness blends seamlessly with cream, giving you a gourmet experience without the café price tag.
- Customization options: Want a hint of chocolate? You can easily fold in espresso-infused chocolate chips to enhance your treat.
- Perfect for gatherings: Impress your friends and family with this homemade dessert at your next dinner party or casual gathering.
Don’t underestimate the power of a well-crafted coffee ice cream; it could be the highlight of your dessert lineup! For additional inspiration, check out Serious Eats for more innovative ice cream recipes.
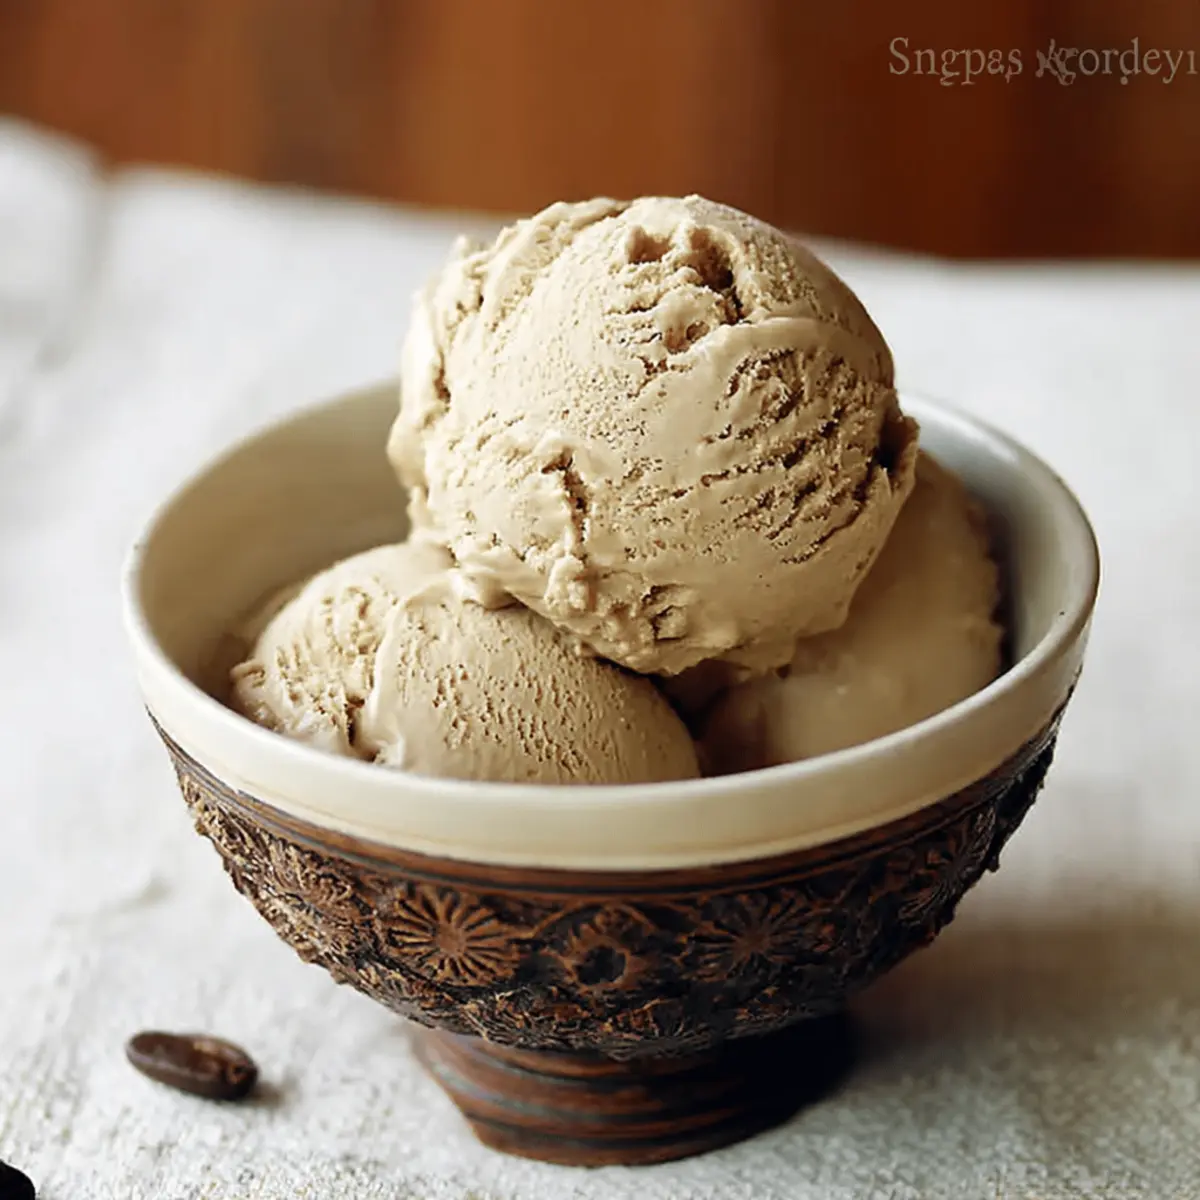
Coffee Ice Cream Bliss: Indulgent Homemade Delight

A decadent and creamy coffee ice cream that you can easily make at home, perfect for cooling down on a hot day.
- Prep Time: 15 minutes
- Total Time: 4 hours 15 minutes
- Yield: 1 quart 1x
- Category: Dessert
- Method: Churned
- Cuisine: American
- Diet: Vegetarian
Ingredients
- 2 cups heavy cream
- 1 cup whole milk
- 3/4 cup granulated sugar
- 1 cup brewed coffee, cooled
- 1 teaspoon vanilla extract
- 1/2 teaspoon salt
Instructions
- In a mixing bowl, whisk together the heavy cream, whole milk, sugar, cooled coffee, vanilla extract, and salt until the sugar dissolves.
- Pour the mixture into an ice cream maker and churn according to the manufacturer’s instructions.
- Once the ice cream reaches a soft-serve consistency, transfer it to an airtight container.
- Freeze for at least 4 hours or until firm.
Notes
- For a stronger coffee flavor, use espresso instead of brewed coffee.
- Serve with chocolate shavings or a drizzle of chocolate sauce for added indulgence.
Nutrition
- Serving Size: 1 cup
- Calories: 250
- Sugar: 22g
- Sodium: 100mg
- Fat: 18g
- Saturated Fat: 11g
- Unsaturated Fat: 5g
- Trans Fat: 0g
- Carbohydrates: 24g
- Fiber: 0g
- Protein: 3g
- Cholesterol: 70mg
Keywords: Coffee Ice Cream, homemade ice cream, coffee dessert