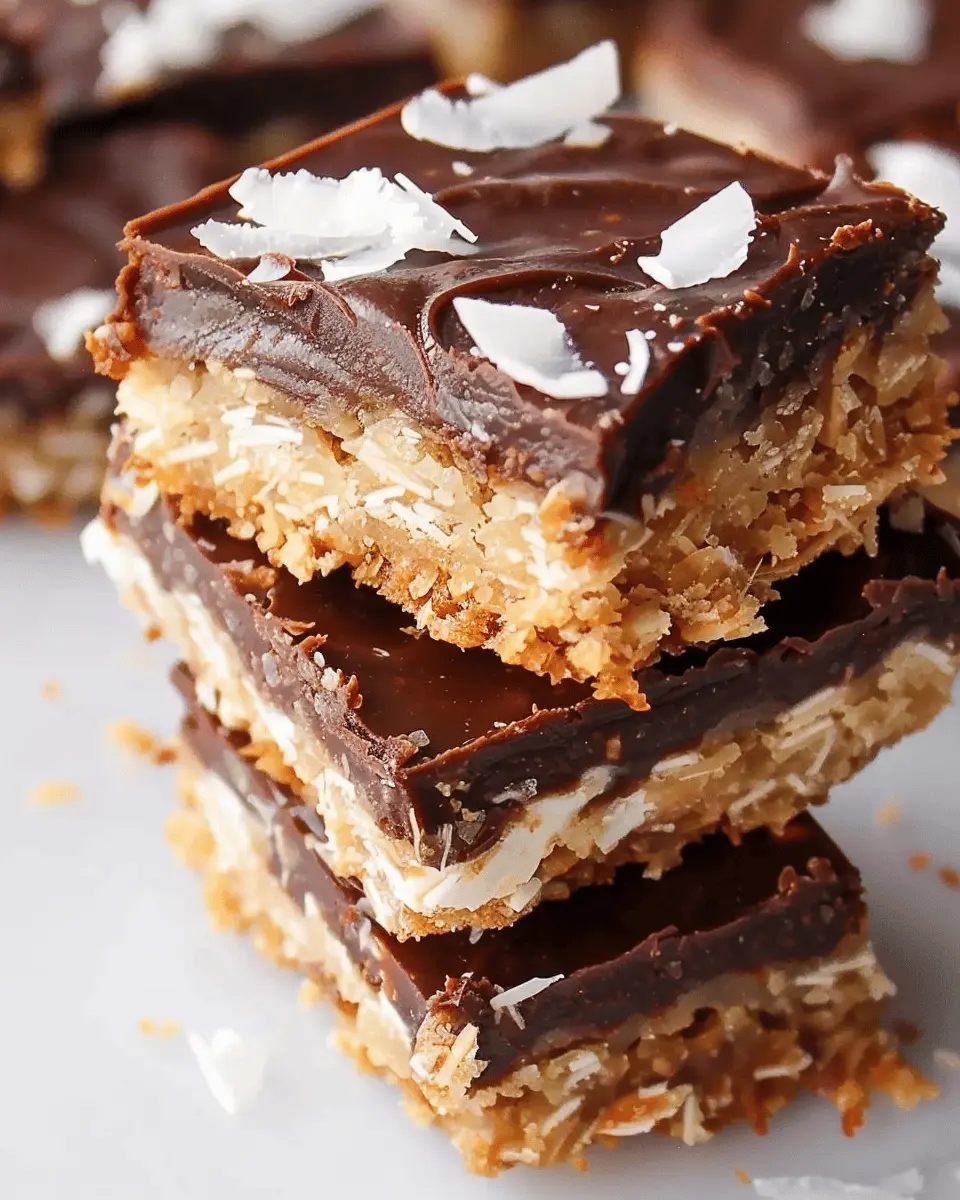
Introduction to Homemade Mounds Bars
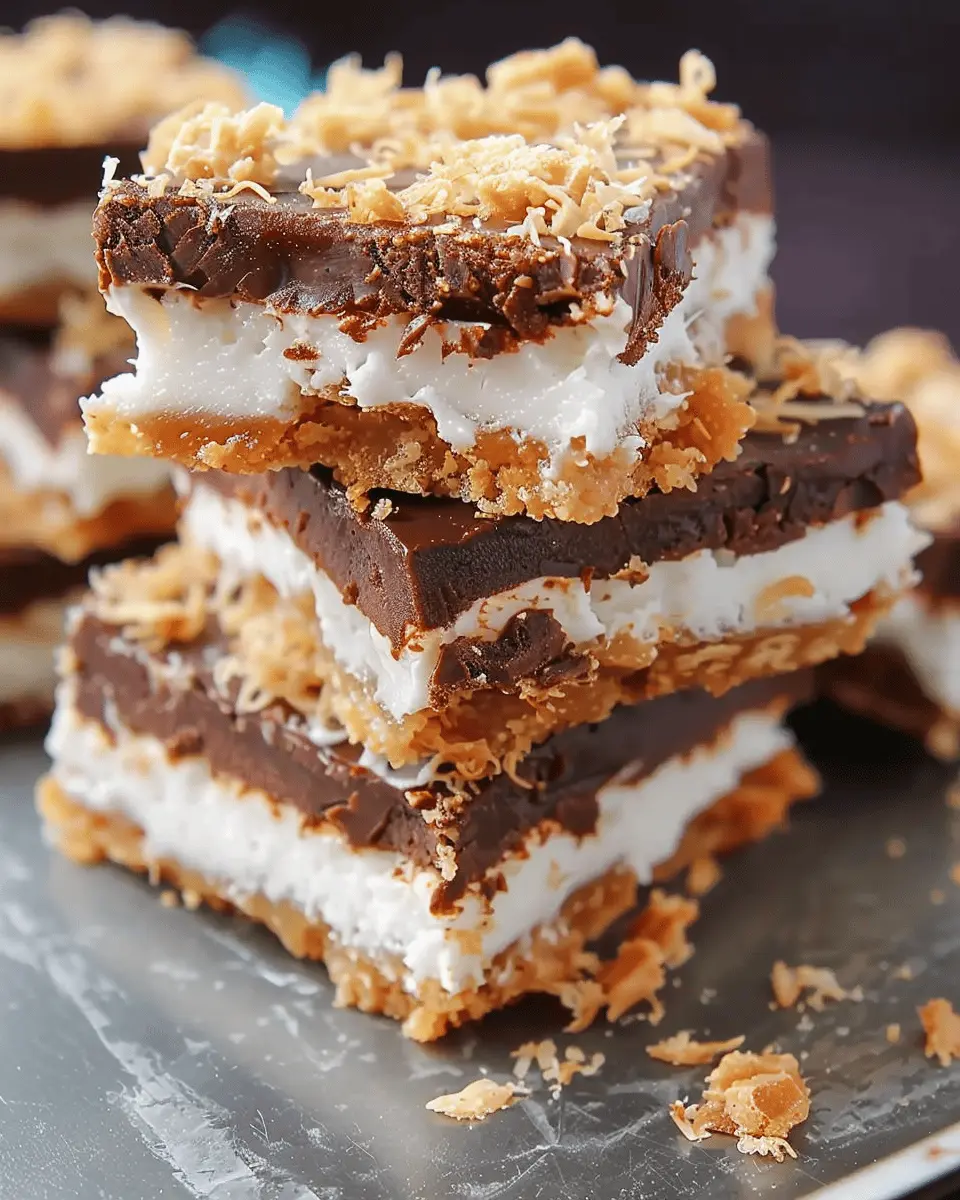
If you’ve ever found yourself dreaming of rich, chocolatey confections graced with a coconut center, homemade Mounds bars are a must-try treat! These delightful snacks are not only indulgent but also surprisingly easy to make at home. Imagine enjoying a sweet treat that satisfies your sugar cravings while allowing you to control the ingredients. It’s all about that perfect balance of textures and flavors, and homemade Mounds bars deliver!
Why Are Homemade Mounds Bars a Must-Try Treat?
One of the best things about making your Mounds bars from scratch is the chance to personalize each bite. You’re in control of the quality of chocolate and coconut, ensuring your final product is as decadent or healthy as you wish. Did you know that homemade treats often taste better than store-bought ones? This is largely due to fresh ingredients and the absence of preservatives found in many commercial products.
Homemade Mounds bars also offer a creative outlet. Whether you’re experimenting with dark or milk chocolate or even adding a hint of sea salt on top, the options are endless! The added bonus? You can share your tasty creations with friends and family, bringing your culinary skills to the forefront of social gatherings. And let’s face it—who doesn’t love a good homemade gift?
Moreover, making these bars allows you to cater to dietary preferences. Are your friends vegan or gluten-free? No problem! With just a few substitutions, you can whip up a batch that everyone can enjoy. Plus, they can be a healthier alternative since you’re able to reduce sugar or use organic ingredients.
Coconut, one of the primary ingredients, is known for its health benefits, including being a great source of fiber and healthy fats. Paired with chocolate, it becomes a delightful combination that feels indulgent without the guilt.
So, if you’re ready to dive into the world of homemade Mounds bars, grab your ingredients and let’s get started! Your taste buds will thank you, and your friends may just ask for the recipe next time. For more tips on baking and creation, check out this guide.
Ingredients for Homemade Mounds Bars
Creating your own homemade Mounds bars is not only a fun kitchen project but also a chance to customize flavors to your liking! To get started, you’ll need a few basic ingredients, most of which you may already have in your pantry. Here’s what you’ll need:
Essential Ingredients
- Unsweetened shredded coconut: This is the star of the show, giving your bars that classic coconut flavor and chewy texture.
- Sweetened condensed milk: This adds a rich creaminess that binds your coconut and creates a wonderfully sweet filling.
- Dark chocolate or semi-sweet chocolate: Choose high-quality chocolate for dipping; it makes a significant difference in flavor!
- Coconut oil: This helps to thin out the chocolate, making it easier to coat your bars smoothly.
- Vanilla extract: A splash adds depth to the flavor profile and enhances the overall taste.
Optional Additions
- Almond extract: If you enjoy a nutty flavor, a few drops can elevate your bars even more.
- Sea salt: A pinch of sea salt sprinkled on top can balance the sweetness and enhance the chocolate.
Before you dive into mixing, gather these ingredients, and let’s get ready to indulge in some delicious homemade Mounds bars! For more tips on ingredient selection, feel free to check out this guide on baking essentials.
Making your own chocolate treats can be an exciting way to impress friends and family—who doesn’t love a sweet surprise?
Step-by-Step Preparation of Homemade Mounds Bars
Making your own homemade Mounds bars is not just a fun kitchen project; it’s a delightful way to indulge in a sweet tooth treat while customizing every layer to your liking. Follow these steps, and you’ll be on your way to creating a chocolate-coconut confection that will rival store-bought versions. Let’s dive right in!
Preheat and prepare your baking pan
Start by setting your oven to 350°F (175°C). While your oven is heating up, grab an 8-inch square baking pan. This is where all the magic will happen! Line the bottom and sides of the pan with parchment paper, allowing a little overhang on the edges. This makes for easy removal once your homemade Mounds bars cool down. If you don’t have parchment paper at hand, you can lightly grease the pan with a bit of cooking spray.
Create the graham cracker crust
Next, it’s time to assemble that dreamy graham cracker crust that will provide a solid foundation for your homemade Mounds bars. In a medium bowl, mix together:
- 1 ½ cups of crushed graham crackers
- ½ cup of melted butter
- ¼ cup of granulated sugar
Stir until the mixture resembles wet sand. Press this mixture firmly into the bottom of your prepared pan to form an even layer. Use the back of a measuring cup to really pack it down — think of it as a mini workout! Bake the crust in your preheated oven for about 10 minutes, until it’s lightly golden and set. The aroma will undoubtedly tempt the senses!
Mix the coconut layer with condensed milk
While your crust is baking, you can start working on the coconut layer — a crucial element of these homemade Mounds bars. In another bowl, combine:
- 2 ½ cups of shredded sweetened coconut
- 1 cup of sweetened condensed milk
- ½ teaspoon of vanilla extract
Mix everything until well combined. The sticky sweetness from the condensed milk perfectly binds the coconut together, creating that luscious filling we all love. Once your crust has finished baking, remove it from the oven and let it cool for a few minutes before spreading the coconut mixture on top. It helps to gently pat it down so it lays flat, ensuring an even distribution of flavor throughout your bars.
Bake the layers to perfection
Place your assembled bars back into the oven and bake for an additional 15–20 minutes, until the coconut layer turns a beautiful golden brown on top. It’s essential to keep an eye on it during the last few minutes to prevent burning. A little patience will yield a wonderfully toasty aroma filling your kitchen! After baking, allow it to cool down completely in the pan before adding the chocolate topping.
Melt and spread the chocolate topping
Once your coconut layer is cool, it’s time to finish off these homemade Mounds bars with a decadent chocolate topping. You’ll need:
- 1 cup of semi-sweet chocolate chips
- 1 tablespoon of coconut oil
Melt the chocolate chips and coconut oil in a microwave-safe bowl in 30-second intervals, stirring after each interval until smooth. This prevents overheating and ensures the chocolate maintains a nice glossy finish. Once melted, carefully pour the chocolate over the coconut layer, spreading it evenly with a spatula.
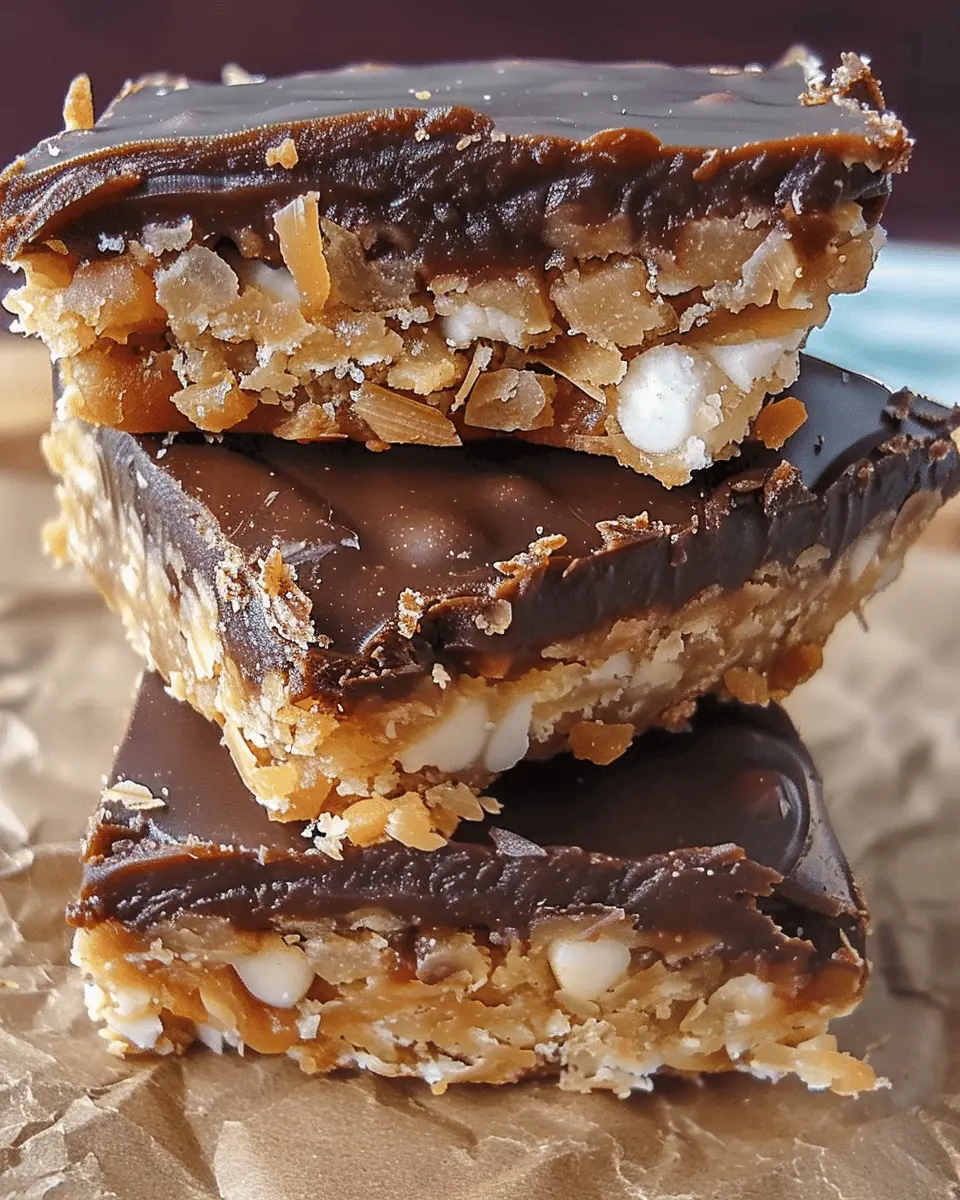
Pop your baking pan into the refrigerator for about 30 minutes, or until the chocolate is set. Once it has hardened, lift the bars out using the parchment overhang and slice them into squares or rectangles, whichever you prefer! For the best experience, enjoy your homemade Mounds bars with a warm cup of coffee or a chilled glass of milk.
What’s more satisfying than enjoying a sweet treat you created from scratch? With each step, you’ve crafted a lovely homemade dessert that’s sure to impress friends and family alike. Happy baking!
Variations on Homemade Mounds Bars
If you’re a fan of homemade Mounds bars, you’ll love experimenting with some delightful variations! These twists not only jazz up the flavor, but they also bring a bit of your personal touch into the kitchen.
Chocolate-Coconut Twist Bars
Why stick to just coconut when you can add a little zest? Try adding a hint of orange or lime zest to your coconut filling. This citrus infusion provides a refreshing complement to the rich chocolate.
- Ingredients:
- 2 cups shredded coconut
- 1/4 cup coconut milk
- Zest of one orange
- 1 cup dark chocolate for coating
To make these, simply mix the coconut, coconut milk, and zest until well combined, form them into bars, and coat with melted dark chocolate. The combination of chocolate and citrus creates a unique flavor experience you’ll want to revisit again and again. You can even check out more citrus dessert ideas on sites like Food Network.
Nutty Mounds Bars with Almonds
For those of you who love a crunch, consider adding chopped almonds to your homemade Mounds bars. The nutty flavor pairs exceptionally well with coconut.
- Ingredients:
- 1 cup shredded coconut
- 1/2 cup chopped almonds
- 1/4 cup almond milk
- 1 cup milk chocolate for coating
Mix the coconut, chopped almonds, and almond milk together, press into a pan, and top with melted milk chocolate. This version adds both texture and flavor, making it a delightful treat that feels indulgent yet comforting. Need tips on how to chop nuts effectively? Visit Serious Eats for some handy advice.
Feel free to try these variations or come up with your own! Making homemade Mounds bars can be a fun, creative outlet—just remember to enjoy the process as much as the final product!
Cooking Tips and Notes for Homemade Mounds Bars
Creating delicious homemade Mounds bars is a fun way to indulge in a sweet treat while also knowing exactly what goes into your dessert. Here are some handy tips to ensure your bars turn out perfectly!
Use High-Quality Ingredients
Start by choosing high-quality chocolate and fresh coconut. This can significantly elevate the taste of your bars. You might consider exploring organic products for a richer flavor.
Get the Right Consistency
When mixing the coconut and sweetener, aim for a consistency that holds together without being too dry. If the mixture feels crumbly, a little coconut cream can help bind everything perfectly.
Allow Adequate Cooling Time
Be patient! After assembling your bars, let them cool in the refrigerator for at least an hour. This step solidifies the chocolate layer and ensures nice, clean cuts when slicing.
Experiment with Flavors
Feel free to get creative! You can mix in almond extract or a pinch of sea salt for an interesting twist. A more complex flavor can take your homemade Mounds bars to the next level.
For detailed techniques and variations, check out resources like Serious Eats and Bon Appétit. Happy baking!
Serving Suggestions for Homemade Mounds Bars
When it comes to enjoying your homemade Mounds bars, the possibilities are truly delightful! These chewy, chocolatey treats can be elevated in a few creative ways:
Pair with a Refreshing Beverage
Consider enjoying your Mounds bars with a tall glass of cold coconut water or a rich cup of dark coffee. The tropical flavors of coconut mixed with the richness of chocolate can create a delightful contrast, enriching your snacking experience.
Perfect for Gatherings
Homemade Mounds bars make a fantastic addition to any gathering. Slice them into small squares and arrange them on a colorful platter for a visually appealing treat. Your friends will appreciate having a sweet, nut-free dessert option that can cater to a variety of taste preferences.
Storage Tips
If you find yourself with extras, store your Mounds bars in an airtight container. This helps maintain their chewy texture and keeps them fresh for up to two weeks.
These suggestions add more enjoyment to your homemade Mounds bars and make every bite a more delightful experience. Want to explore more creative dessert ideas? Check out this comprehensive guide to easy desserts.
Time Breakdown for Homemade Mounds Bars
Preparation time
Making homemade Mounds bars is a delightful experience that begins with approximately 15 minutes of preparation. This includes gathering your ingredients, managing your workspace, and mixing the perfect coconut filling. Don’t rush it—taking your time here will ensure the flavors meld beautifully.
Baking time
Next, we’ve got about 10 minutes of baking to transform that luscious filling into a bar that’s worthy of your dessert table. While the bars are in the oven, you can take a moment to envision how delicious they’ll taste once properly assembled.
Total time
In total, you’re looking at around 30 minutes from start to finish! That’s not too shabby for a homemade treat that’s bound to impress your friends and family. And just think—those sweet, tropical flavors will be worth every second spent in the kitchen. So get ready to indulge in some delightful homemade Mounds bars! You might also find useful tips on perfecting your technique in this baking guide.
Nutritional Facts for Homemade Mounds Bars
Crafting your own homemade Mounds bars can be a delightful way to indulge in a guilt-free treat. Here’s a brief overview of the nutritional benefits of these coconutty delights.
Calories
A typical serving of homemade Mounds bars contains about 150 calories, making them a perfect small snack without going overboard on your daily intake.
Protein
When it comes to protein, these bars offer a modest amount—around 2 grams per serving. It’s not a high-protein snack, but every little bit helps when you’re craving something sweet!
Sugars
The sugar content in homemade Mounds bars is approximately 10 grams, depending on how much sweetener you choose to add. Opting for natural sweeteners like maple syrup or honey can provide added nutritional benefits while keeping sweetness in check.
For a deeper dive into coconut’s health benefits, check out this healthline article. Want to minimize sugar? Learn about alternative sweeteners at Mayo Clinic. Remember, enjoying dessert doesn’t have to mean sacrificing your health!
FAQs about Homemade Mounds Bars
Can I make Mounds bars vegan-friendly?
Absolutely! To create vegan-friendly homemade Mounds bars, simply swap the sweetened condensed milk for a plant-based alternative. Coconut cream or a blend of almond milk with a thickener like arrowroot powder can work wonders. Choose dairy-free chocolate or dark chocolate with minimal additives for the coating. With these adjustments, you’ll still capture that delicious coconut and chocolate flavor everyone loves.
How do I store leftover Mounds bars?
If you’re lucky enough to have leftovers (or if you just want to batch-make them), storing your homemade Mounds bars is easy! Keep them in an airtight container in the fridge for up to two weeks. Just make sure they’re separated by parchment paper to prevent sticking. If you want to keep them for a longer time, pop them in the freezer for up to three months. Just remember to thaw them in the fridge before enjoying!
Can I use different types of chocolate?
Definitely! While dark chocolate provides that signature richness that pairs so well with coconut, you can experiment with different varieties. Milk chocolate offers a sweeter bite, and white chocolate provides a creamy, decadent alternative. Just make sure to choose high-quality chocolate for the best taste and texture. Mixing in some chopped nuts or using flavored chocolate can also add an exciting twist!
Feel free to check out more on how to customize and elevate your homemade Mounds bars here. Your creativity is the only limit!
Conclusion on Homemade Mounds Bars
In summary, homemade Mounds bars can easily become your new favorite sweet treat! Not only are they simple to make, but they also allow you to control the ingredients, offering a healthier alternative to store-bought options. Imagine indulging in rich chocolate and creamy coconut without the guilt – it’s a win-win!
If you’re looking to experiment, consider adding your unique twist, like a hint of sea salt or a drizzle of caramel. Fellow baking enthusiasts often share their success stories on forums like AllRecipes and Food52. Don’t be shy to dive into this delicious project—it’s a great way to impress friends and satisfy that sweet tooth. Enjoy your creation!
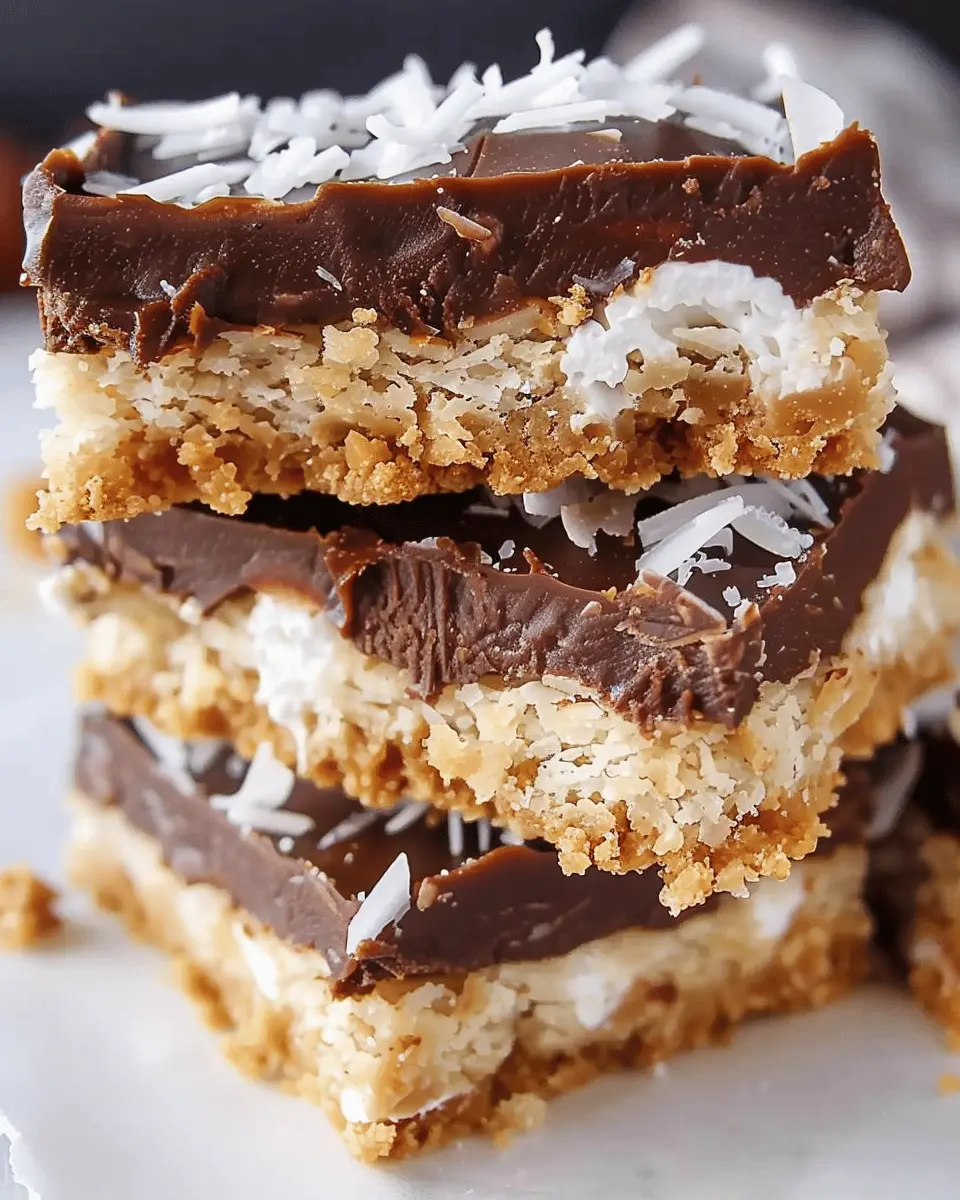
Homemade Mounds Bars: Indulgent Treats You Can Easily Make
Delicious homemade Mounds Bars that mimic the classic coconut and chocolate treat are easy to make and perfect for satisfying your sweet tooth.
- Prep Time: 15 minutes
- Cook Time: 20 minutes
- Total Time: 1 hour 5 minutes
- Yield: 12 bars 1x
- Category: Dessert
- Method: Baking
- Cuisine: American
- Diet: Vegetarian
Ingredients
- 2 cups shredded coconut
- 1 cup sweetened condensed milk
- 1 teaspoon vanilla extract
- 8 ounces dark chocolate
- 2 tablespoons coconut oil
Instructions
- Preheat your oven to 350°F (175°C) and line a baking dish with parchment paper.
- In a mixing bowl, combine the shredded coconut, sweetened condensed milk, and vanilla extract.
- Press the coconut mixture into the prepared baking dish and bake for 15-20 minutes until golden brown.
- Let the coconut layer cool completely.
- In a double boiler, melt the dark chocolate and coconut oil until smooth.
- Pour the melted chocolate over the cooled coconut layer and spread evenly.
- Allow the chocolate to set in the fridge for at least 30 minutes before cutting into bars.
Notes
- Make sure to use high-quality dark chocolate for the best flavor.
- Add a pinch of salt to the chocolate for enhanced taste.
Nutrition
- Serving Size: 1 bar
- Calories: 180
- Sugar: 12g
- Sodium: 20mg
- Fat: 10g
- Saturated Fat: 8g
- Unsaturated Fat: 2g
- Trans Fat: 0g
- Carbohydrates: 22g
- Fiber: 2g
- Protein: 2g
- Cholesterol: 5mg
Keywords: Homemade Mounds Bars