Introduction to Puff Pastry Cannoli Cones
What are Puff Pastry Cannoli Cones?
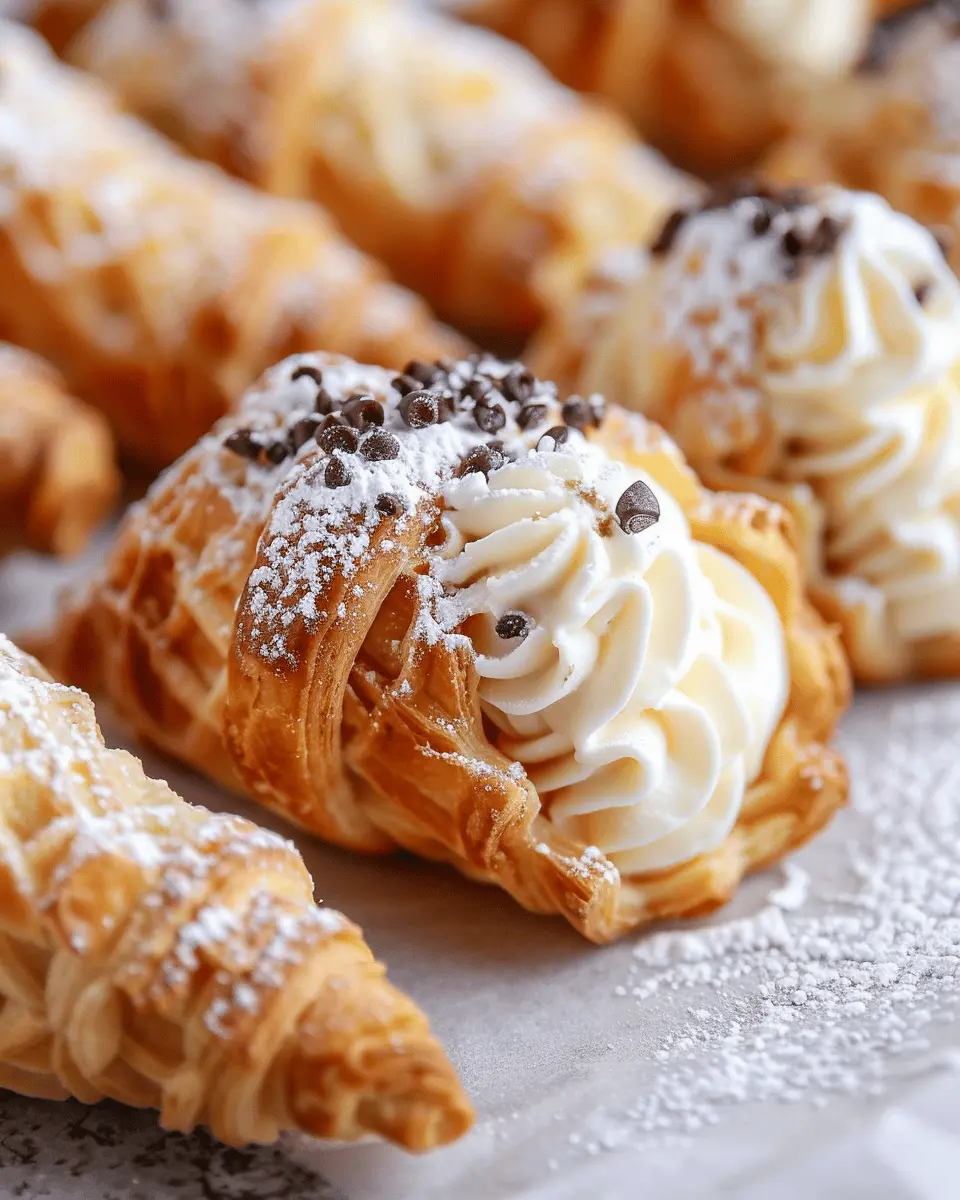
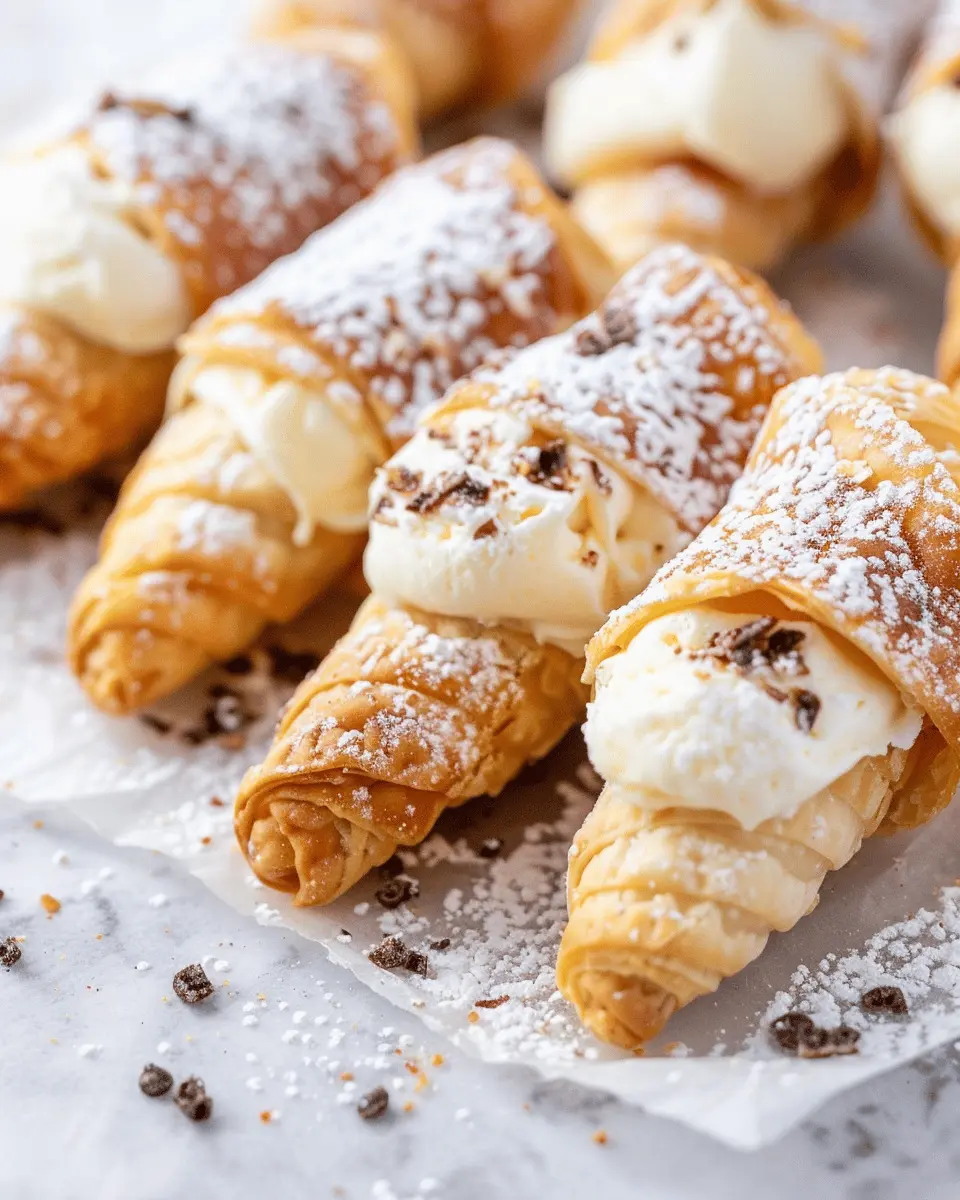
If you’re on the lookout for a delightful twist on a classic dessert, then puff pastry cannoli cones might just become your new favorite treat! Imagine the flaky, buttery goodness of puff pastry wrapped into a cone shape, freshly baked to golden perfection and filled with a rich and creamy cannoli filling. It’s the perfect combination of texture and flavor that can make any occasion a little sweeter.
Puff pastry is known for its lightness and crispiness, and when you use it to create cannoli cones, you get a delicious interplay of crunch and creaminess that traditional cannoli shells simply can’t match. The beauty of puff pastry is that it puffs up while baking, creating multiple layers that give each bite a satisfying crunch. You can easily find puff pastry in your local grocery store’s freezer section, making this recipe accessible for even the busiest of young professionals.
Why Try Making Them?
Not only do puff pastry cannoli cones look impressive, but they are also brilliantly versatile. Once you’ve perfected the cone, the filling can be customized to suit your taste. Traditional ricotta and mascarpone filling is always a winner, but feel free to experiment! Add in flavors such as chocolate chips, pistachios, or even some zesty citrus for a refreshing twist.
These delectable cones can be a show-stopper at your next gathering or a delightful way to celebrate a small victory after a long work week. Plus, they are perfect for impressing friends or satisfying a sweet tooth without the hassle of traditional baking methods. According to Expert Baker Magazine, unique desserts like these are on-trend, with a surge in popularity among millennials looking to elevate their culinary skills—so why not let your baking prowess shine?
In just a few simple steps, you can whip up a batch of these delightful treats that will have everyone coming back for more. Join me as we dive deeper into the recipe for puff pastry cannoli cones, and discover how to make this delicious dessert at home! Need inspiration? Head over to this puff pastry guide for tips on working with puff pastry like a pro!
Ingredients for Puff Pastry Cannoli Cones
Creating puff pastry cannoli cones is a delightful culinary adventure. Let’s dive into the essentials you’ll need to whip up these delicious treats.
Puff Pastry Shells
- 1 package of frozen puff pastry: Look for high-quality options at your local grocery store. Make sure to thaw it according to the package instructions for best results.
- Cones for shaping: You can easily make these out of aluminum foil or buy pre-made cone molds online.
Sweet Cannoli Filling
- 2 cups ricotta cheese: The heart of the cannoli, ensure it’s well-drained for a creamy texture.
- 1 cup powdered sugar: For sweetness—it balances the rich flavor of the ricotta beautifully.
- 1 teaspoon vanilla extract: A dash of this elevates the flavor.
- 1/2 cup mini chocolate chips: These add delightful pops of sweetness in every bite!
Optional Garnishes
- Chopped nuts: Such as pistachios or almonds for a crunchy finish.
- Extra chocolate chips: For sprinkling on top or mixing into the filling.
With these ingredients at hand, you’ll be well on your way to crafting your own delectable puff pastry cannoli cones! Interested in learning more about puff pastry? Check out this guide for tips on creating the perfect base.
Step-by-Step Preparation for Puff Pastry Cannoli Cones
Creating puff pastry cannoli cones might sound intimidating, but I promise the process is quite enjoyable and rewarding. Let’s break it down into simple steps to ensure you achieve that crunchy, flaky exterior filled with luscious vanilla pastry cream.
Making the Vanilla Pastry Cream
The star of your cannoli cones is undoubtedly the vanilla pastry cream. It’s the perfect balance of rich and sweet, and it’s surprisingly easy to make!
-
Ingredients Needed:
-
2 cups whole milk
-
½ cup granulated sugar
-
3 large egg yolks
-
¼ cup cornstarch
-
2 tablespoons unsalted butter
-
1 tablespoon pure vanilla extract
-
Instructions:
- In a saucepan, heat the milk over medium heat until it begins to steam; do not boil.
- In a mixing bowl, whisk together the egg yolks, sugar, and cornstarch until smooth.
- Gradually pour the hot milk into the egg mixture, whisking continuously to temper the eggs.
- Return the mixture to the saucepan and cook over medium heat, whisking constantly until it thickens, about 5-7 minutes.
- Remove from heat and stir in the butter and vanilla extract. Allow the pastry cream to cool before using.
Pro tip: If you want to elevate the flavor, consider adding a pinch of salt or a bit of lemon zest to your pastry cream for a refreshing twist!
Preparing the Puff Pastry
Next up is the puff pastry, which will give your cannoli that delicate crunch. You can make your own from scratch or use store-bought — it’s a time-saver!
-
What You’ll Need:
-
1 package of puff pastry (thawed if frozen)
-
Flour for dusting
-
Baking spray or butter
-
Instructions:
- Preheat your oven to 400°F (200°C) and line a baking sheet with parchment paper.
- Roll out the puff pastry on a lightly floured surface until it’s about 1/8 inch thick. Cut the pastry into 5-inch squares or triangles, depending on your desired cone shape.
- Lightly brush the edges of the pastry with water to help seal it when shaping.
Shaping the Cannoli
Here comes the fun part! Shaping the puff pastry cannoli cones doesn’t just produce an appetizing appearance, but it’s therapeutic too.
- Instructions:
- Roll each pastry square around a cone-shaped metal mold, starting from the bottom and overlapping slightly.
- Use the damp edges to seal the seam.
- Repeat with remaining pastry squares.
It’s okay if you don’t have a cone mold; you can even use aluminum foil to create a makeshift mold!
Baking the Cannoli Cones
Now that your cones are shaped, it’s time to transform them into golden brown perfection.
- Instructions:
- Place the shaped cones on your baking sheet and spray them lightly with baking spray or brush with melted butter.
- Bake at 400°F for about 15-20 minutes, or until they’re puffed and golden.
- Let them cool on a wire rack while you finish preparing the filling.
Feel free to check out tips on pastry baking from Serious Eats or BBC Good Food to enhance your baking skills!
Filling the Cannoli
Once your puff pastry cannoli cones have cooled, it’s time to fill them and bring everything together.
- Instructions:
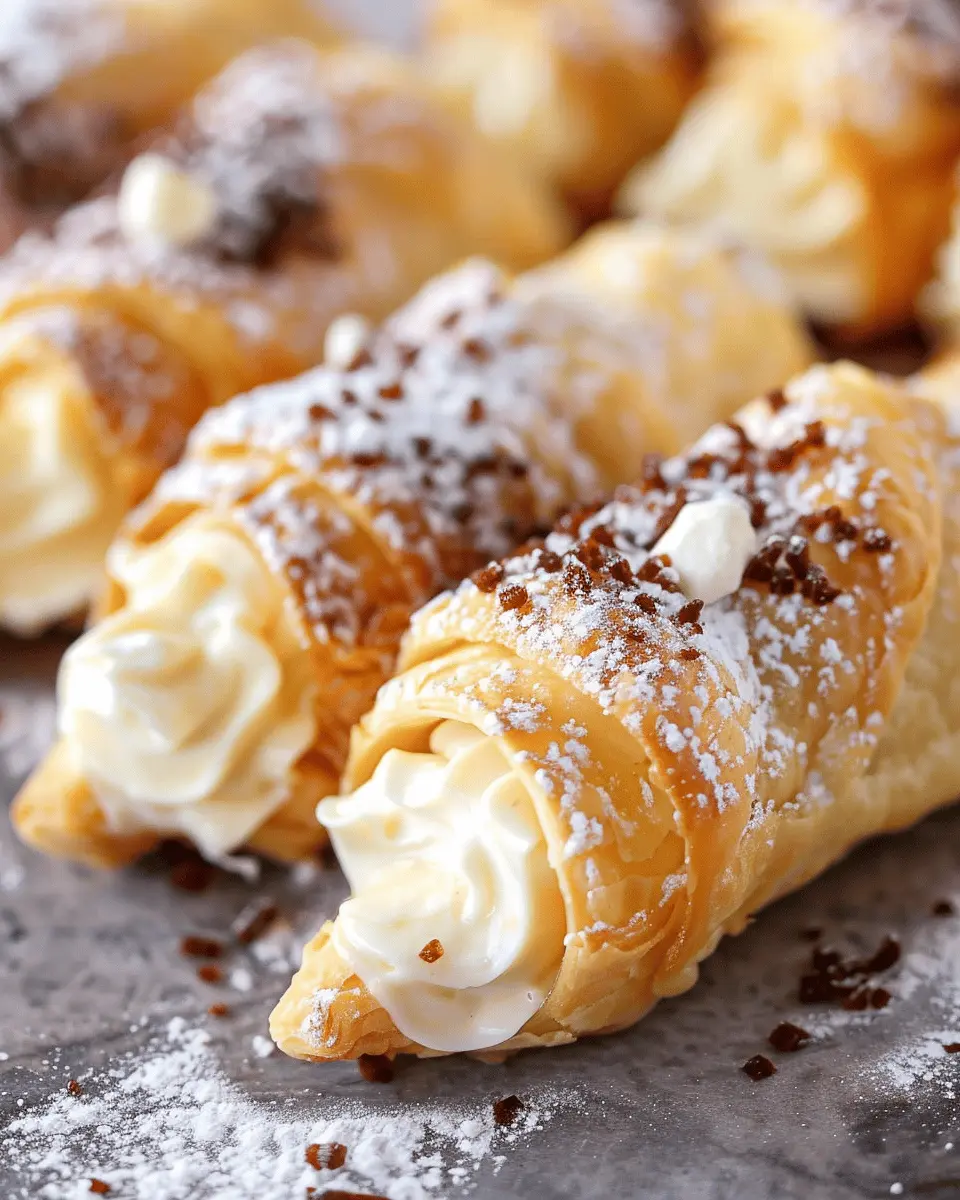
- Transfer the cooled vanilla pastry cream to a piping bag fitted with a star tip for that lovely decorative touch.
- Pipe the cream into each cone, starting from the bottom and filling to the top.
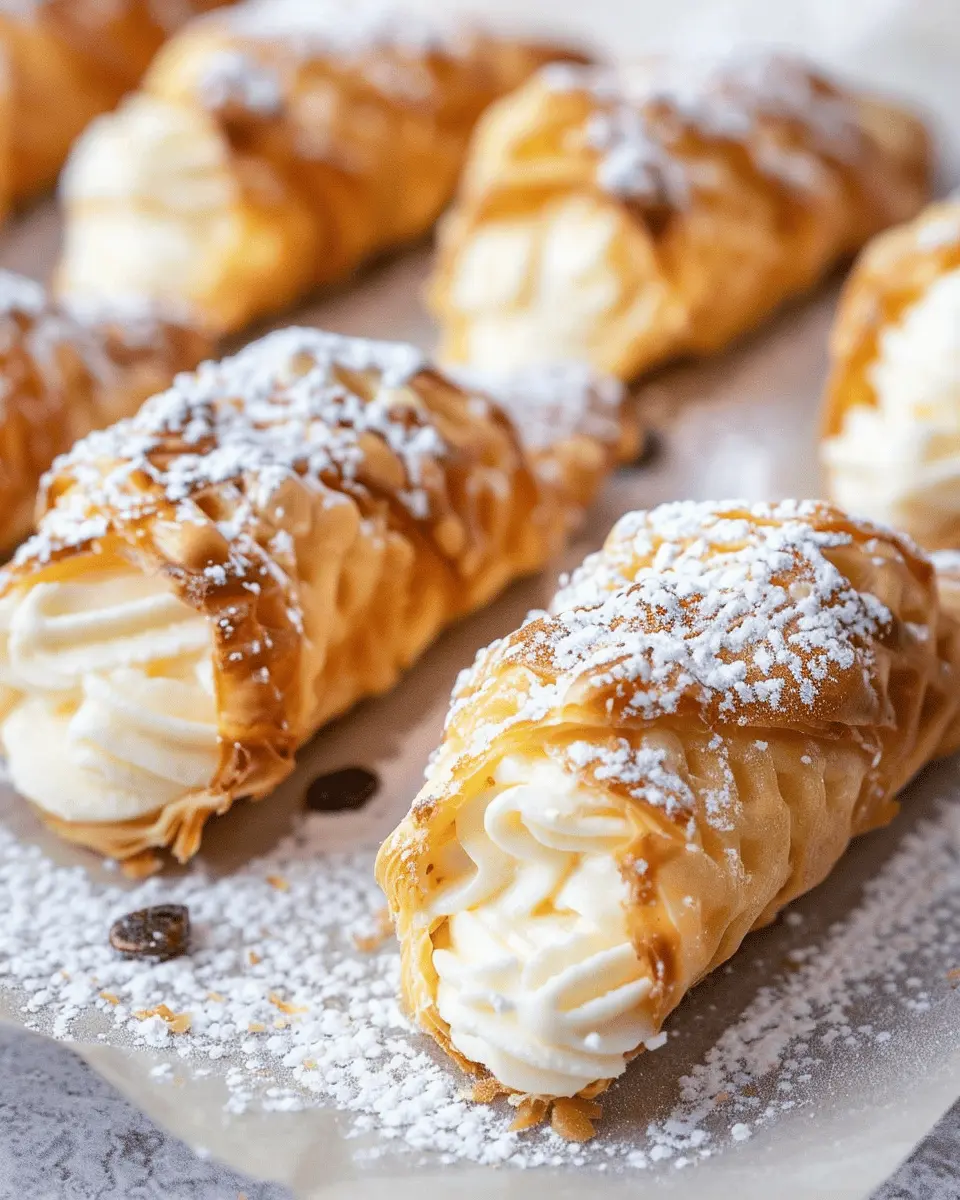
- Dust with powdered sugar or dip the edges in chocolate chips for an extra treat.
It’s almost too easy, and trust me, your friends will be impressed! Enjoy savoring your puff pastry cannoli cones, and don’t forget to share a few with friends — if you’re feeling generous!
With each delightful bite, you’ll appreciate the effort put into crafting this delicious dessert. So, roll up your sleeves and get ready to impress your taste buds!
Variations on Puff Pastry Cannoli Cones
If you think puff pastry cannoli cones are delightful as they are, just wait until you explore a couple of scrumptious variations that take them to new heights!
Irresistible Chocolate-Filled Cannoli Cones
Are you a true chocolate lover? Then chocolate-filled puff pastry cannoli cones are calling your name. Start with a rich chocolate ricotta filling, mixing your ricotta with cocoa powder, powdered sugar, and a splash of vanilla. To elevate the indulgence, fold in some mini chocolate chips. When it’s time to fill your cones, you can even dip the edges in melted chocolate, sprinkling crushed nuts or sprinkles on the edges for added flair. This variation is perfect for dinner parties or when you simply want to treat yourself.
Fruity and Nutty Cannoli Cones
For a fresh twist, try fruit and nut cannoli cones. Use a light ricotta filling blended with finely chopped seasonal fruits like strawberries or peaches for a burst of flavor. Toss in some toasted nuts like almonds or pistachios for an added crunch. This bright version works wonderfully for brunch or as a refreshing summer dessert. You could also consider drizzling honey or adding a touch of lemon zest for an extra layer of deliciousness.
Are you ready to get creative with your puff pastry cannoli cones? By mixing and matching these flavors, you can cater to any palate. For more inspiration, explore Ghirardelli’s chocolate ideas, or check out Bon Appétit’s fruit-filled recipes. Happy baking!
Cooking Tips and Notes for Puff Pastry Cannoli Cones
When making puff pastry cannoli cones, a few handy tips can elevate your dessert from good to unforgettable. Here’s what you need to know:
Choosing Your Puff Pastry
Opt for high-quality puff pastry for the flakiest cones. Brands like Dufour and Trader Joe’s offer fantastic options. Thaw it properly in the fridge to maintain its integrity while working with it.
Shaping the Cones
Creating the perfect cone shape is easier than you think! Use a sturdy cardboard or metal cone mold. Wrap your pastry around the mold, ensuring it’s snug—this prevents it from uncoiling during baking.
Baking Tips
- Temperature Control: Bake at a higher temperature, around 400°F, for a crispier texture.
- Egg Wash: Brush your cones with an egg wash before baking for a beautiful golden color.
Stuffing the Cones
Wait until the puff pastry cannoli cones are cool before filling them. This prevents the filling from becoming too warm and making the pastry soggy. A classic ricotta cream or your favorite filling works wonders!
For more great tips on pastry and dessert making, check out resources like Serious Eats or Bon Appétit. Your friends and family will be raving about your delightful dessert!
Serving Suggestions for Puff Pastry Cannoli Cones
Serving puff pastry cannoli cones can transform them from a simple dessert to an impressive centerpiece at any gathering. Here are some delightful suggestions to elevate your experience:
Create a Tasting Station
Consider setting up a tasting station where guests can customize their cones. Provide various fillings, such as:
- Classic Ricotta and Sugar: A traditional favorite.
- Chocolate Mousse: For a luxurious twist.
- Fruit Compote: Fresh options like strawberry or raspberry add a vibrant touch.
Garnishes and Toppings
Dress up your puff pastry cannoli cones with an array of toppings. Think about offering:
- Chopped Nuts: Almonds, pistachios, or hazelnuts for added crunch.
- Chocolate Drizzle: For a sweet and eye-catching finish.
- Powdered Sugar: A simple dusting adds a touch of elegance.
Pair with Beverages
For a complete indulgence, pair your cones with coffee or herbal teas. You could complement the rich flavors with a light brew, like a smooth latte or a refreshing chamomile tea. If you’re interested in pairing recommendations, sites like Coffee Brew Guide can be quite helpful.
Let your imagination guide you as you serve these delightful treats! Customize each cone to cater to your guests’ palates, making your gathering memorable and delicious.
Time Breakdown for Puff Pastry Cannoli Cones
When you’re in the mood for a delightful dessert, puff pastry cannoli cones are an exceptional choice! Let’s break down the time commitment so you can plan your baking adventure with ease.
Preparation time
Getting everything ready for your puff pastry cannoli cones will take about 20-25 minutes. This includes rolling out the pastry, cutting it into triangles, and assembling the cones around your molds. If you enjoy a bit of music or your favorite podcast in the background, this part will feel even quicker!
Baking time
Once your cones are assembled, pop them in the oven for about 15-20 minutes until they’re beautifully golden brown. Keep an eye on them – you want that perfect crunch on the outside!
Total time
All told, you’re looking at a total time of around 45-50 minutes to bring your puff pastry cannoli cones to life. In no time, you’ll have a delicious treat that will impress your friends and satisfy your sweet tooth! So, are you ready to dive into some delightful dessert-making?
For tips on how to pair these cones with the perfect fillings, check out this guide.
Nutritional Facts for Puff Pastry Cannoli Cones
When indulging in puff pastry cannoli cones, it’s always good to know what’s in them. Here’s a quick look at the nutritional breakdown you’ll find in these delightful treats:
Calories
Each puff pastry cannoli cone contains approximately 250 calories, making it a satisfying but not overly heavy dessert. If you’re mindful of your caloric intake, consider enjoying one on special occasions or sharing with a friend.
Protein
These delectable cones pack in about 4 grams of protein. While not a primary protein source, every little bit counts, especially when enjoying a treat!
Sugar
With roughly 12 grams of sugar per cone, it’s best to relish these sweet pastries in moderation. For a lower-sugar option, you can experiment with natural sweeteners or reduce the amount of filling sweetener.
By being aware of the nutritional facts, you can fully enjoy your puff pastry cannoli cones while keeping your health goals in mind. Interested in learning more about the benefits of moderation in your diet? Check out Healthline for expert tips!
FAQs about Puff Pastry Cannoli Cones
Can I make this recipe gluten-free?
Absolutely! To enjoy puff pastry cannoli cones in a gluten-free version, you’ll want to look for gluten-free puff pastry. Many brands offer this alternative, and you can usually find it in the freezer section of your local grocery store. Just make sure to read the packaging for specific baking instructions, as gluten-free dough may behave differently than traditional pastry.
How do I store leftover cannoli?
If you find yourself with leftover puff pastry cannoli cones (which can be a delicious problem!), it’s best to store the components separately. Keep the shells in an airtight container at room temperature to maintain their crispiness. For the filling, use a similar airtight container and refrigerate it. When you’re ready to enjoy them again, just fill the cones with the cream right before serving to prevent sogginess.
Can I use store-bought cream?
Certainly! If you’re in a pinch or just craving immediate satisfaction, using store-bought cream is a fantastic shortcut. You can often find pre-made ricotta or pastry cream in supermarkets. Just keep an eye on the ingredients to ensure the flavors complement your puff pastry cannoli cones. If you’re feeling adventurous, you could even mix in some flavorings like vanilla or citrus zest for a unique twist!
For more great tips on baking with puff pastry, check out resources from King Arthur Baking and America’s Test Kitchen. Enjoy your culinary journey with these delightful dessert cones!
Conclusion on Puff Pastry Cannoli Cones
Creating puff pastry cannoli cones is a delightful culinary adventure that effortlessly combines the flaky, buttery goodness of puff pastry with the creamy decadence of traditional cannoli filling. Whether you’re hosting a dinner party or simply satisfying your sweet tooth, these cones are sure to impress.
As you experiment and develop your own variations—perhaps adding a dash of coffee or citrus—remember to relish the process. Puff pastry is versatile, and the possibilities are endless!
So, grab your ingredients, summon your friends, and enjoy both making and savoring these delightful treats. For more inspiration, check out the delightful world of pastries on Food Network. Happy baking!
Puff pastry cannoli cones: Easy indulgence for dessert lovers

Delight in these puff pastry cannoli cones filled with sweet ricotta and chocolate.
- Prep Time: 20 minutes
- Cook Time: 10 minutes
- Total Time: 30 minutes
- Yield: 12 cones 1x
- Category: Dessert
- Method: Frying
- Cuisine: Italian
- Diet: Vegetarian
Ingredients
- 1 sheet puff pastry
- 1 cup ricotta cheese
- 1/2 cup powdered sugar
- 1 teaspoon vanilla extract
- 1/2 cup mini chocolate chips
- Oil for frying
Instructions
- Preheat the oil in a deep fryer.
- Roll out the puff pastry and cut it into triangles.
- Wrap the pastry triangles around cone-shaped molds and fry until golden brown.
- In a bowl, mix ricotta cheese, powdered sugar, and vanilla extract until smooth.
- Fold in mini chocolate chips.
- Once cooled, fill the pastry cones with the ricotta mixture.
- Serve immediately and enjoy!
Notes
- For extra flavor, consider adding zest from an orange or lemon to the ricotta mixture.
Nutrition
- Serving Size: 1 cone
- Calories: 180
- Sugar: 5g
- Sodium: 50mg
- Fat: 10g
- Saturated Fat: 3g
- Unsaturated Fat: 5g
- Trans Fat: 0g
- Carbohydrates: 20g
- Fiber: 1g
- Protein: 3g
- Cholesterol: 15mg
Keywords: Puff pastry cannoli cones