Introduction to Red Velvet Birthday Cake
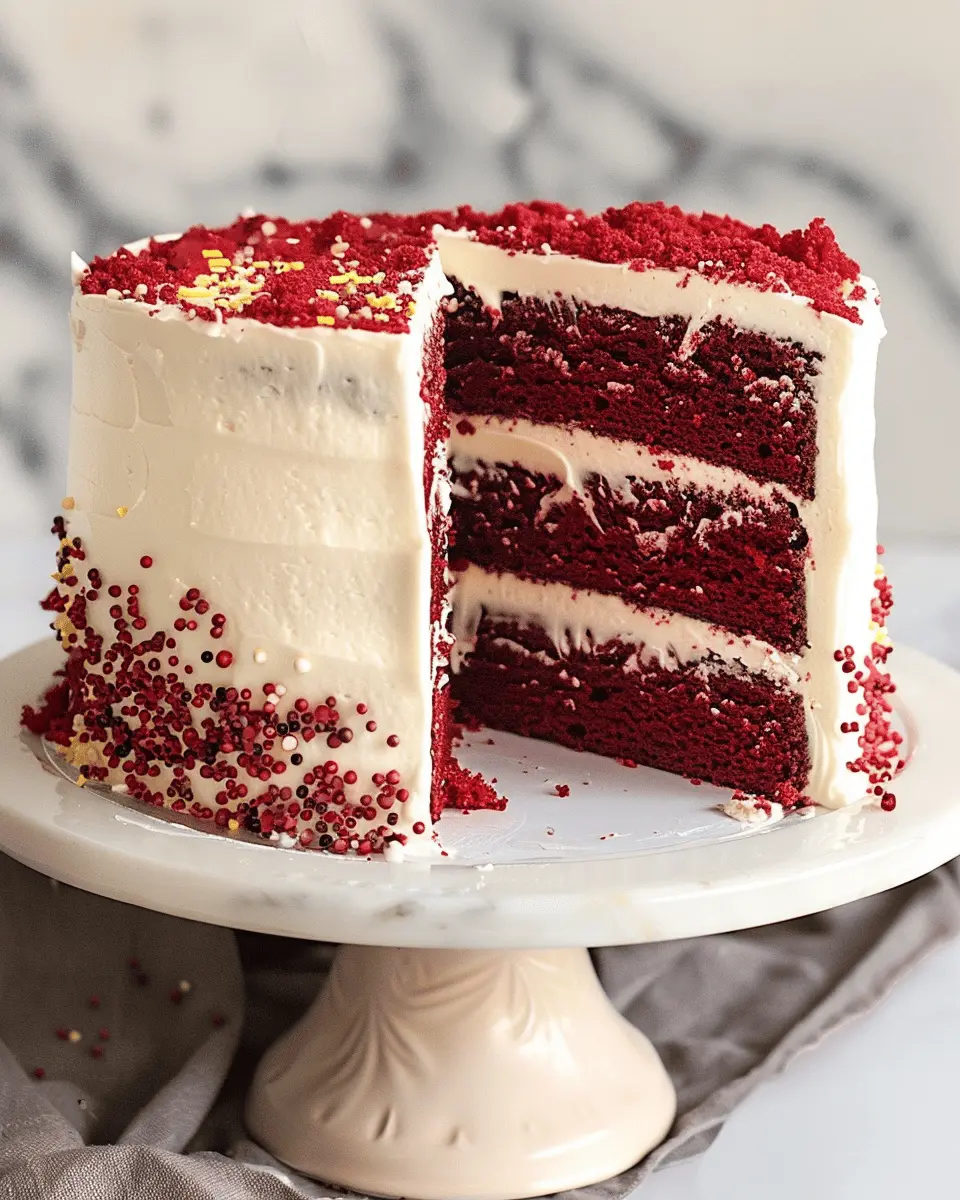
When it comes to baking a stunning centerpiece for celebrations, few desserts shine quite like a red velvet birthday cake. With its captivating crimson hue and luxurious cream cheese frosting, this dessert is not just a feast for the eyes; it’s also a delicious treat that tantalizes the taste buds. But why exactly does red velvet cake hold a special place in the hearts and stomachs of so many?
Why Red Velvet Cake is the Perfect Celebration Treat
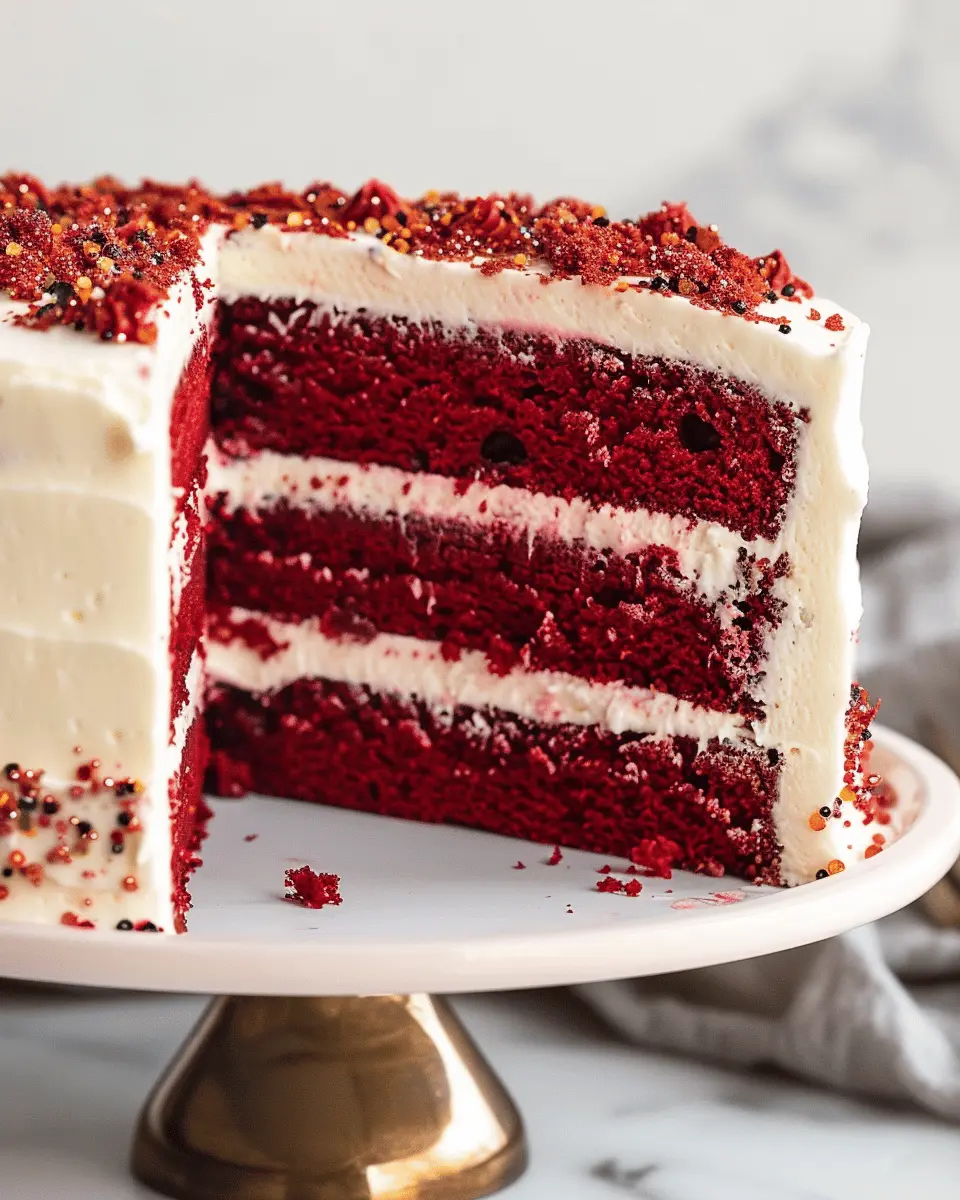
First off, the texture of a red velvet birthday cake is simply divine. The cake is known for its soft, moist crumb that feels like a cloud with every bite. This is largely thanks to the combination of buttermilk and oil, which keeps the cake rich and tender. If you’re curious about the science behind it, the acidity from the buttermilk reacts with the baking soda, creating a delightful rise and soft texture.
Not only is it texturally delightful, but the unique flavor profile of red velvet cake also makes it stand out. It’s a lovely marriage of vanilla and cocoa, with just a hint of tanginess from the buttermilk. This trifecta of flavors is not only satisfying but also intriguing, as it encourages your taste buds to keep guessing with every bite.
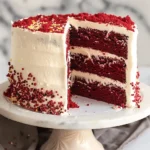
In addition, let’s talk about the aesthetics! The striking red color makes it an instant showstopper. Imagine presenting this enchanting cake at your next birthday celebration; it’s sure to ignite the joy and excitement of the occasion. Whether it’s a cherished family gathering or a vibrant birthday bash with friends, a red velvet birthday cake truly elevates the atmosphere.
Beyond personal enjoyment, there’s something inherently communal about celebrating with cake. Studies show that sharing desserts can strengthen social bonds, making your birthday gathering even more memorable. Who can resist slicing into a beautifully crafted piece of art?
If you want to explore more about the history and cultural significance of red velvet cake, check out this insightful article from The Spruce Eats.
In the world of desserts, a red velvet birthday cake is not just a treat; it’s an experience filled with flavor, joy, and connection. So why not dive into the recipe and create your own birthday masterpiece?
Ingredients for Red Velvet Birthday Cake
Creating a stunning red velvet birthday cake requires the perfect blend of ingredients. Whether you’re celebrating a friend’s big day or treating yourself, this cake will definitely make an impression. Let’s dive into the essentials!
Essential ingredients for the cake
For a moist and flavorful red velvet birthday cake, gather these ingredients:
- All-purpose flour: 2 cups
- Granulated sugar: 1.5 cups
- Cocoa powder: 1 tablespoon (this adds a subtle chocolate flavor)
- Baking soda: 1 teaspoon
- Salt: 1 teaspoon
- Vegetable oil: 1 cup (oil keeps the cake tender)
- Buttermilk: 1 cup (for that signature tang)
- Eggs: 2 large
- Red food coloring: 2 tablespoons (this is the star of the show!)
- Vanilla extract: 1 teaspoon
- White vinegar: 1 teaspoon (a common secret ingredient that enhances the cake’s rise)
Key ingredients for the cream cheese frosting
A red velvet birthday cake wouldn’t be complete without a rich cream cheese frosting. Here’s what to use:
- Cream cheese: 8 ounces, softened (the heart of the frosting)
- Unsalted butter: 1/2 cup, softened
- Powdered sugar: 4 cups (for sweetness and creaminess)
- Vanilla extract: 1 teaspoon (for added flavor)
These ingredients are simple yet essential for crafting a delightful cake experience. For more tips on how to achieve the perfect consistency in your frosting, check out this guide from Taste of Home. Happy baking!
Step-by-Step Preparation of Red Velvet Birthday Cake
Creating a stunning red velvet birthday cake at home is an adventure that blends culinary art with heartfelt celebration. Let’s take a look at how to prepare this classic cake, ensuring each step brings you closer to that delicious masterpiece. Follow along for a detailed, step-by-step process.
Gather and Prepare Your Ingredients
The first step in crafting a delightful red velvet birthday cake is to ensure you have all your ingredients ready. A well-organized kitchen makes the baking process smoother! You’ll need:
- 2 ½ cups all-purpose flour
- 1 ½ cups sugar
- 1 teaspoon baking soda
- 1 teaspoon fine salt
- 1 teaspoon cocoa powder
- 1 ½ cups vegetable oil
- 1 cup buttermilk, at room temperature (you can make a substitute with milk and vinegar)
- 2 large eggs
- 2 tablespoons red food coloring
- 1 teaspoon vanilla extract
- 1 teaspoon white vinegar
- Optional: 1 cup strong brewed coffee for an enhanced cocoa experience
Take a moment to measure everything out. This will help you avoid scrambling around later when you’re knee-deep in batter. If you’re not familiar with baking terminology, feel free to check out this helpful guide from Food Network.
Create the Cocoa-Coffee Mixture
In a small bowl, combine the cocoa powder with your brewed coffee (if you’re using it) until smooth. This cocoa-coffee mixture not only enhances the chocolate flavor but also adds a subtle depth to the cake. The warmth of the coffee makes it easier to dissolve the cocoa.
Mix Dry Ingredients in a Separate Bowl
Next, grab another bowl to mix your dry ingredients. Whisk together the flour, sugar, baking soda, salt, and cocoa powder. This step is crucial to evenly distribute the leavening agents throughout the flour. Remember to sift if your flour tends to clump! Keeping these basic techniques in mind can really elevate your baking.
Combine Wet Ingredients and Sugar
In a large bowl, blend your wet ingredients: oil, buttermilk, eggs, red food coloring, vanilla extract, and white vinegar. Use a hand mixer or whisk to make it light and fluffy. Add the sugar to this mix, ensuring everything is well incorporated. You may find that the vibrant red color starts to peek through — it’s like magic!
Incorporate Flour Mixture into the Batter
Once your wet mix looks good, slowly add the flour mixture into the batter. It’s important to mix until just combined — overmixing can lead to a dense cake. A few lumps are perfectly fine! This is also a good time to use the spatula to scrape down the sides of the bowl, ensuring every bit of dry ingredient is mixed in.
Divide Batter into Prepared Pans and Bake
Preheat your oven to 350°F (175°C) and prepare two 9-inch round cake pans by greasing them with butter and lightly dusting with flour. Divide the batter equally between the pans. Not only does this ensure even cooking, but it also saves you time when it comes to frosting. Bake your cakes for about 25-30 minutes, or until a toothpick inserted into the center comes out clean.
Cool the Cakes Before Frosting
Once the cakes are done, remove them from the oven and let them cool in the pans for about 10 minutes. Then, transfer them to a wire rack to cool completely. This step is crucial! Frosting warm cakes can lead to a melty disaster.
As you wait for the cakes to cool, this is a great time to whip up a cream cheese frosting or any of your favorites. The red velvet birthday cake is known for its pairing with cream cheese frosting, which provides a delicious contrast to the cake’s sweet chocolate undertones.
In conclusion, taking the time to prepare your ingredients and follow these steps will lead to an exquisite red velvet birthday cake that’s sure to impress at any celebration. Happy baking!
Variations of Red Velvet Birthday Cake
If you’re a fan of the red velvet birthday cake, why not explore some delightful variations to keep things fresh and exciting? There’s so much you can do!
Elevate with Red Velvet Cupcakes
Why not take that beloved red velvet cake and transform it into individual cupcakes? Red velvet cupcakes are perfect for sharing at parties or for a fun treat any day. The frosting choices are nearly limitless—cream cheese frosting, vanilla buttercream, or even a tangy lemon twist—each adding its unique flair. Plus, these bite-sized beauties allow for easy customization. Consider adding mini chocolate chips into the batter or drizzling them with a rich ganache for an extra touch of indulgence.
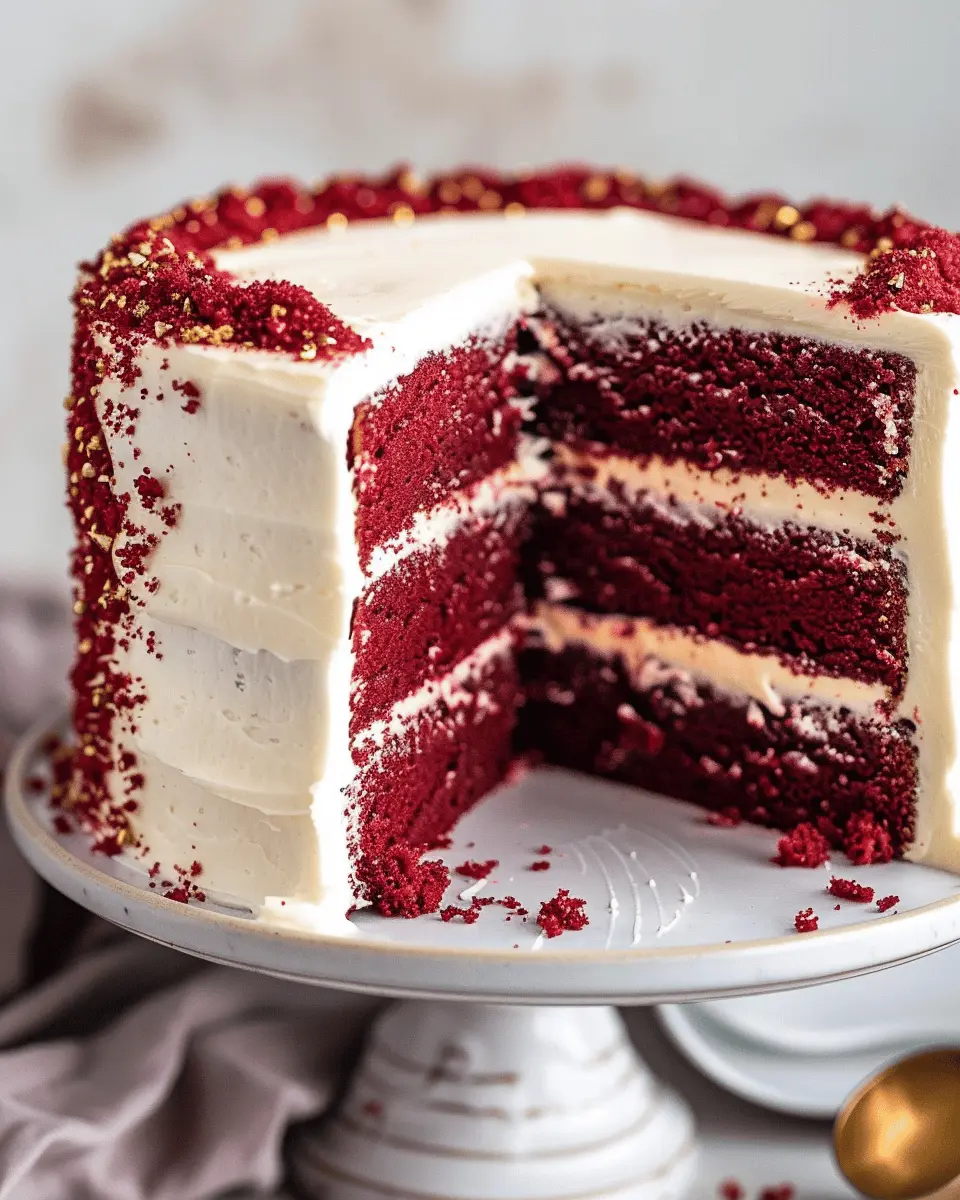
Layered Magic: Red Velvet Cake with Different Fillings
If you want to host a true birthday celebration, consider a red velvet layer cake with different fillings. Picture this: layers of sumptuous red velvet cake interspersed with fluffy layers of vanilla bean mousse, tart raspberry compote, or even a decadent salted caramel filling. Each slice offers a delightful surprise and keeps guests coming back for seconds. Not to mention, the visual appeal of a multi-layered cake is bound to steal the spotlight!
When preparing your variations, don’t forget to browse popular recipe platforms like Bon Appétit or Food Network for inspiration or the latest baking techniques that you can incorporate into your creations. Ready to get baking? Let your creativity shine as you experiment with these delightful twists on the classic red velvet birthday cake!
Cooking Tips and Notes for Red Velvet Birthday Cake
Perfecting the Moisture Level
When baking your red velvet birthday cake, achieving the ideal moisture is crucial for a tender texture. Here are some tips to get it just right:
- Use Buttermilk: This ingredient not only adds flavor but also ensures a moist crumb. If you’re out, you can easily make your own by mixing milk with a splash of vinegar.
- Don’t Overmix: Once you combine the wet and dry ingredients, mix just until everything is incorporated. Overmixing can lead to a tough cake.
- Check for Doneness: Each oven is unique, so use a toothpick to test if your cake is done—aim for a few moist crumbs, not wet batter.
Ensuring the Right Color and Flavor Balance
For a red velvet birthday cake that shines both in taste and appearance, focus on:
- Cocoa Quality: Use high-quality unsweetened cocoa powder to enrich the chocolate flavor without overpowering the red hue.
- Coloring: If you’re not getting the vibrant red you want from cocoa and buttermilk alone, consider adding a few drops of red gel food coloring for that classic look. Be careful not to overdo it!
- Vanilla Extract: A teaspoon of pure vanilla extract can enhance the overall flavor, creating a beautiful balance with the cocoa.
A delightful cake is all about simple techniques! Want more step-by-step baking guides? Be sure to check resources like Baking Basics for extra insights and inspiration.
Serving Suggestions for Red Velvet Birthday Cake
Adornments for a Beautiful Presentation
When showcasing your red velvet birthday cake, presentation is key. Here are a few ideas to elevate its appeal:
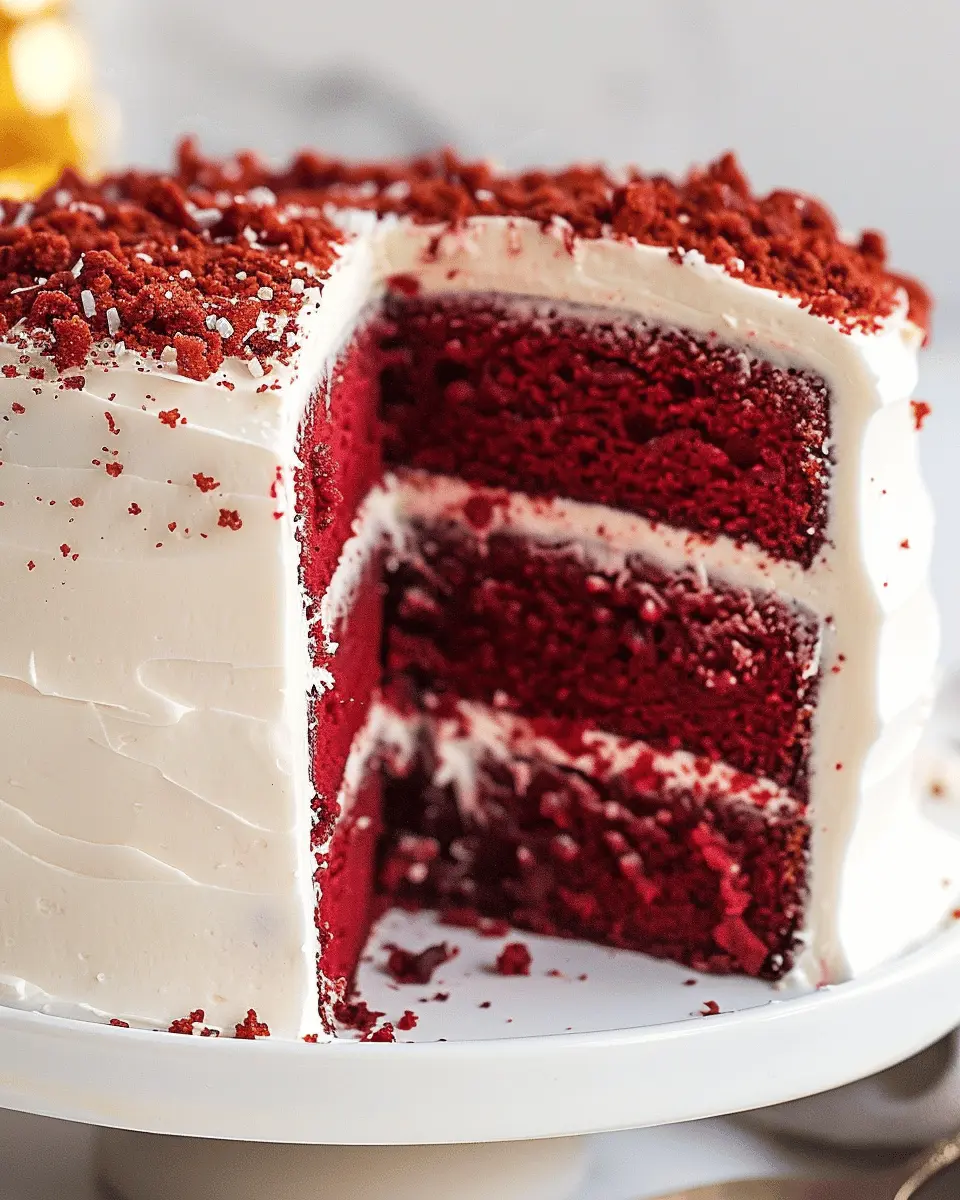
- Cream Cheese Frosting: Generously spread a smooth layer of cream cheese frosting for that classic flavor and a glossy finish.
- Chocolate Shavings: Sprinkle dark chocolate shavings on top for a decadent touch. You can also use white chocolate for a fun contrast.
- Edible Glitter: For a bit of sparkle, consider dusting a light coat of edible glitter. It adds a festive feel that’s perfect for a birthday celebration.
- Fresh Berries: Add a pop of color with fresh raspberries or strawberries positioned on top or around the cake.
Best Accompaniments to Serve Alongside
Serving your delicious red velvet birthday cake can be enhanced by pairing it with complementary treats:
- Coffee or Herbal Tea: A rich cup of coffee or soothing herbal tea can balance the sweetness beautifully.
- Ice Cream: Vanilla is a classic choice, but why not try a scoop of creamy caramel or a fruity sorbet? These frozen delights can cool down the cake’s richness.
- Fruits: Consider a fresh fruit platter. Citrus fruits, like oranges or sliced kiwis, can provide a refreshing contrast to the cake’s flavors.
Incorporating these elements not only elevates your dessert spread but also invites guests to indulge in a delightful culinary experience. The art of serving a red velvet birthday cake goes beyond the cake itself; it’s about creating joyful memories with friends and family around the table!
For more tips on presentation and serving suggestions for cakes, check out resources like Taste of Home، which offers an array of ideas for dessert pairings and décor.
Time Breakdown for Red Velvet Birthday Cake
When it comes to making the perfect red velvet birthday cake, timing is everything! Here’s a simple breakdown to help you plan your baking adventure.
Preparation time
Start by gathering your ingredients and tools; this usually takes about 15-20 minutes. You’ll want everything ready for smooth mixing.
Baking time
Once your batter is mixed and in the pans, pop them in the oven for roughly 25-30 minutes. Keep an eye on them to ensure they bake evenly and achieve that luscious red hue.
Cooling time
After baking, it’s important to let your cakes cool. Allow them to sit for about 30 minutes in the pans before transferring them to wire racks to cool completely.
Total time
In total, expect to spend around 1.5 hours to make your red velvet birthday cake. This doesn’t include any decorating time, which you’ll want to factor in to make your cake truly special.
Planning to make this cake for a birthday celebration? Check out Baking Basics for essential tips and tricks!
Nutritional Facts for Red Velvet Birthday Cake
Calories per serving
Indulging in a slice of red velvet birthday cake is a delightful experience, but it’s important to know what you’re consuming. On average, one slice contains around 350 calories. This makes it a rich treat, perfect for special celebrations but best enjoyed in moderation.
Key nutritional values
When it comes to nutrition, this cake is more than just a pretty dessert. Here’s a quick snapshot of its key values per slice:
- Total Fat: 18g
- Saturated Fat: 10g
- Cholesterol: 70mg
- Sodium: 300mg
- Total Carbohydrates: 45g
- Dietary Fiber: 1g
- Sugars: 30g
- Protein: 4g
While this red velvet birthday cake may pack a little extra sugar, consider pairing it with fresh fruit or a scoop of yogurt for a well-rounded dessert. The blend of flavors not only enhances your enjoying experience—it’s a tad healthier, too. For a deeper dive into nutritional content, you might explore resources from NutritionData or USDA FoodData.
FAQs about Red Velvet Birthday Cake
What is the origin of red velvet cake?
The red velvet birthday cake has a rich and somewhat mysterious history. Its origins can be traced back to the 1800s in the United States, where it gained popularity in the South. The vibrant red color was initially achieved through cocoa powder interactions with acidic ingredients like buttermilk and vinegar. However, it wasn’t until the 1920s that red velvet cake became a pop culture sensation, helped in part by the recipe from the Waldorf-Astoria Hotel. Today, this stunning cake is beloved not just for its flavor but also for its striking appearance, making it a staple at celebrations.
Can I substitute ingredients for gluten-free options?
Absolutely! If you’re looking to enjoy a slice of red velvet birthday cake without gluten, there are plenty of substitutes you can use. A straightforward option is to replace all-purpose flour with gluten-free all-purpose flour blends, which usually contain a mix of rice flour, potato starch, and tapioca flour. Additionally, ensure that your baking powder is labeled gluten-free. For those avoiding dairy, substitutes like almond milk or a non-dairy yogurt can work wonders without compromising the cake’s moist texture.
How do I store leftover red velvet cake?
Storing leftover red velvet birthday cake properly is key to keeping it fresh. If you’re lucky enough to have leftovers, you can store them in an airtight container at room temperature for about 2-3 days. For longer storage, wrap the cake tightly in plastic wrap and place it in the refrigerator, where it can last for up to a week. You can also freeze slices of the cake for up to three months. Just make sure they are well-wrapped to prevent freezer burn!
For more details on cake storage, consider checking out FoodSafety.gov for tips on keeping baked goods fresh.
Conclusion on Red Velvet Birthday Cake
Celebrating with homemade joy
There’s something magical about baking a red velvet birthday cake that transforms an ordinary celebration into a memorable occasion. Every layer, every swirl of cream cheese frosting, carries the love and effort you put into it. When you create a cake from scratch, you’re not just following a recipe—you’re crafting a centerpiece for laughter and joy, sparking conversations and smiles among friends and family.
Imagine the delight on loved ones’ faces as you unveil your beautiful creation. Whether it’s a small gathering or an extravagant party, this cake is sure to impress. For more inspiration, check out resources from the American Cake Decorating Association. Remember, sharing homemade treats enhances both the flavor and the experience, making each bite feel even sweeter!
Red Velvet Birthday Cake: The Best Indulgent Recipe for Celebrations
A deliciously decadent red velvet birthday cake perfect for celebrations.
- Prep Time: 20 minutes
- Cook Time: 30 minutes
- Total Time: 50 minutes
- Yield: 12 servings 1x
- Category: Dessert
- Method: Baking
- Cuisine: American
- Diet: Vegetarian
Ingredients
- 2 1/2 cups all-purpose flour
- 1 1/2 cups granulated sugar
- 1 teaspoon baking soda
- 1 teaspoon salt
- 1 teaspoon cocoa powder
- 1 cup vegetable oil
- 1 cup buttermilk, room temperature
- 2 large eggs, room temperature
- 2 tablespoons red food coloring
- 1 teaspoon vanilla extract
- 1 teaspoon white vinegar
Instructions
- Preheat the oven to 350°F (175°C) and grease two 9-inch round cake pans.
- In a bowl, whisk together flour, sugar, baking soda, salt, and cocoa powder.
- In another bowl, combine oil, buttermilk, eggs, food coloring, vanilla, and vinegar.
- Gradually mix the wet ingredients into the dry ingredients until smooth.
- Divide the batter evenly between the prepared pans.
- Bake for 25-30 minutes or until a toothpick comes out clean.
- Let the cakes cool in the pans for 10 minutes, then transfer to a wire rack to cool completely.
Notes
- For an extra moist cake, consider using cake flour.
- Decorate with cream cheese frosting for the best flavor.
Nutrition
- Serving Size: 1 slice
- Calories: 400
- Sugar: 30g
- Sodium: 300mg
- Fat: 20g
- Saturated Fat: 4g
- Unsaturated Fat: 15g
- Trans Fat: 0g
- Carbohydrates: 60g
- Fiber: 1g
- Protein: 5g
- Cholesterol: 40mg
Keywords: red velvet, birthday cake, celebration, dessert