Introduction to Red Velvet Buttermilk Cake
What is red velvet cake and why is it beloved?
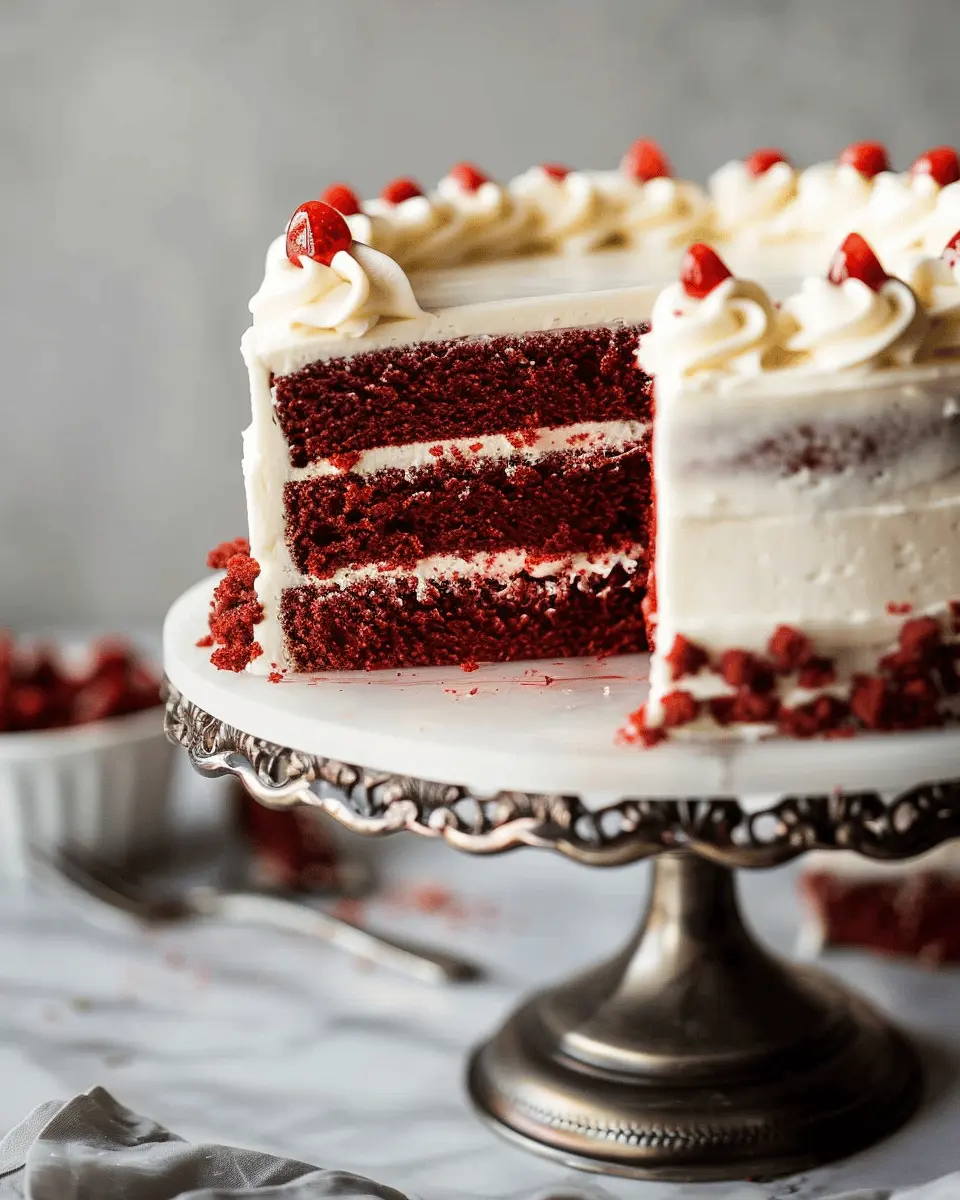
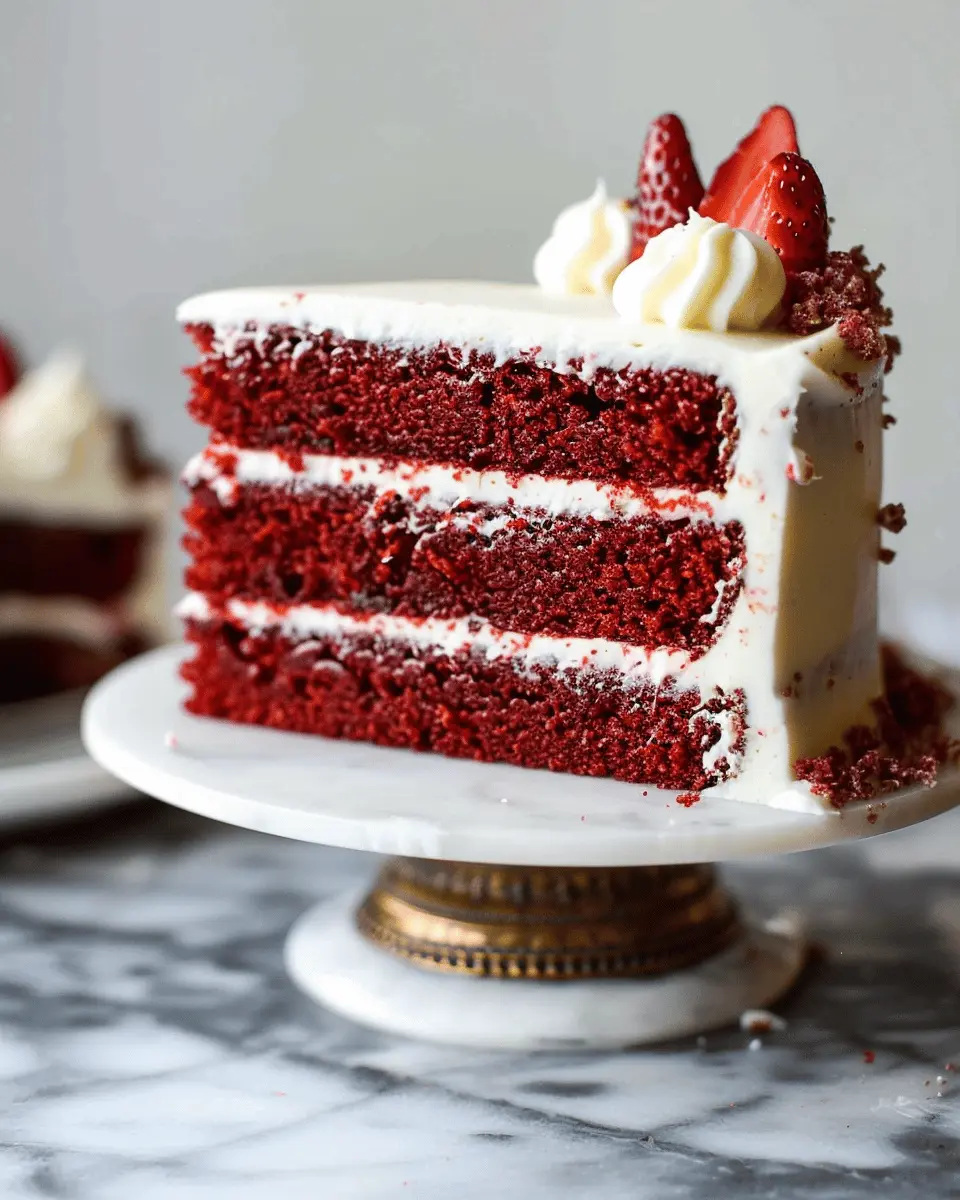
Ah, red velvet cake—a dessert that’s not just a feast for the eyes but a treat for the taste buds! This luscious cake is famed for its striking red color, velvety texture, and subtle chocolate flavor. Originating in the early 20th century, its unique appeal continues to captivate cake lovers everywhere. The blend of cocoa and a hint of tanginess—often from buttermilk—gives the red velvet cake its signature character. It’s no wonder that this cake has become a beloved classic for special occasions and celebrations. Who can resist its charm?
The significance of buttermilk in baking
Now, let’s talk about buttermilk—an ingredient that often flies under the radar but plays a pivotal role in many recipes, including our red velvet buttermilk cake recipe. Buttermilk is not just a tangy liquid; it enhances the flavor and texture of baked goods. Scientifically, it reacts with baking soda to create carbon dioxide, resulting in a lighter cake. This makes your cake fluffy and moist, which is essential when aiming for that melt-in-your-mouth experience. Furthermore, the acidity of buttermilk helps to tenderize gluten in the flour, yielding a beautifully soft crumb. Would you believe that baking with buttermilk can elevate even the simplest recipes to gourmet status?
Introduction to the red velvet buttermilk cake recipe
Are you ready to dive into the delightful world of baking your very own red velvet buttermilk cake? This recipe combines the timeless charm of classic red velvet with the moistness of buttermilk, creating a masterpiece that will make any celebration memorable. Whether you’re planning a birthday bash or a casual weekend gathering, this cake is guaranteed to impress.
As we progress through this recipe, you’ll discover how easy it is to whip up this beauty in no time. From the rich and smooth cream cheese frosting to the beautiful red hue, every slice tells a story.
So, grab your mixing bowls, and let’s get baking! You’re not just making a cake; you’re creating a culinary experience that can bring people together. And don’t forget to check out expert tips for baking success here and delve deeper into the magic behind buttermilk in baking here.
Ingredients for Red Velvet Buttermilk Cake
Essential ingredients for the cake
When it comes to making a scrumptious red velvet buttermilk cake, you’ll want to gather a few essential ingredients to ensure that every bite is moist and flavorful:
- All-purpose flour
- Granulated sugar
- Cocoa powder
- Baking soda
- Salt
- Vegetable oil
- Eggs
- Buttermilk (this adds sleekness)
- Red food coloring (for that iconic hue)
- Vanilla extract
- Vinegar (a touch helps maintain the cake’s moisture)
Essential ingredients for cream cheese frosting
To complement the delightful cake, the cream cheese frosting is crucial. Here are the must-haves:
- Cream cheese (softened for easy mixing)
- Unsalted butter (also softened)
- Powdered sugar
- Vanilla extract
Tips for sourcing the best ingredients
Looking for the best ingredients? Opt for organic, local products when possible. Fresh buttermilk can significantly elevate your cake’s flavor. You can learn more about the benefits of fresh ingredients at reputable sources like The Kitchn or Serious Eats. If you’re feeling adventurous, consider experimenting with natural food colorings instead of traditional dyes for a healthier twist! And remember, high-quality butter and cream cheese are key for that creamy frosting you’ll love. Happy baking!
Preparing Red Velvet Buttermilk Cake
When it comes to baking, few things are as satisfying as creating a red velvet buttermilk cake. This striking dessert, with its tender crumb and luscious cream cheese frosting, is perfect for celebrations or a cozy night in. Ready to dive in? Let’s go through the steps together!
Preheat your oven and prepare the pans
Before anything else, set your oven to preheat at 350°F (175°C). This ensures a perfectly baked cake when you’re ready to pour in your batter. While the oven warms, grab two 9-inch round cake pans and grease them with butter or cooking spray. For an extra precaution, you may also dust them lightly with flour to prevent sticking. Using parchment paper on the bottom can ease the cake’s release as well; a little effort now makes for a smooth assembly later!
Combine dry ingredients
In a medium bowl, whisk together the key dry ingredients for your red velvet buttermilk cake recipe:
- 2 ½ cups all-purpose flour
- 1 ½ cups granulated sugar
- 1 tablespoon cocoa powder
- 1 teaspoon baking soda
- 1 teaspoon salt
This step is essential to distribute the leavening agents evenly throughout the flour. It sets the foundation for a light, fluffy cake. Do you ever find that mixing dry ingredients can feel tedious? Think of it as a little workout for your whisking arm!
Cream butter and sugar, then add wet ingredients
Now it’s time for some creaming action! In a large mixing bowl, use an electric mixer to cream together 1 cup of unsalted butter (at room temperature) and 2 cups of sugar until the mixture is light and fluffy. This can take about 3-5 minutes.
Next, add in your wet ingredients:
- 1 cup vegetable oil
- 1 cup buttermilk
- 2 large eggs
- 1 teaspoon vanilla extract
- 1 tablespoon red food coloring
The food coloring is what gives your cake that signature red hue. You’ll love the vibrant color once it’s baked!
Alternating additions of dry ingredients and buttermilk
Time to build your batter! Gradually add the dry mixture into the butter and sugar mix. Alternate with the buttermilk, starting and finishing with the dry ingredients. This helps maintain the cake’s texture. Aim for smoothness, but don’t over-mix—there’s a fine line here, and too much mixing can lead to a dense cake.
Whip egg whites and fold into batter
For that extra lightness, whip 2 egg whites until they form soft peaks. Gently fold these into your batter. This might feel a bit delicate, but it’s worth it—the egg whites introduce air, making your cake wonderfully airy. Ever tried folding in egg whites? It’s a little dance; go slowly and carefully!
Bake the cake until perfectly cooked
Pour your batter evenly into the prepared pans, then slide them into your preheated oven. Bake for 25-30 minutes or until a toothpick inserted in the center comes out clean. The aroma wafting through your kitchen will be irresistible, and you’ll find it hard to wait!
Make the cream cheese frosting
While the cake cools, let’s whip up that dreamy cream cheese frosting. Beat together:
- 1 cup of softened cream cheese
- ½ cup unsalted butter
- 4 cups powdered sugar
- 1 teaspoon vanilla extract
You want the frosting to be smooth and spreadable, so adjust the powdered sugar until you reach your desired consistency. This creamy goodness is almost good enough to eat by itself!
Assemble and frost your cake
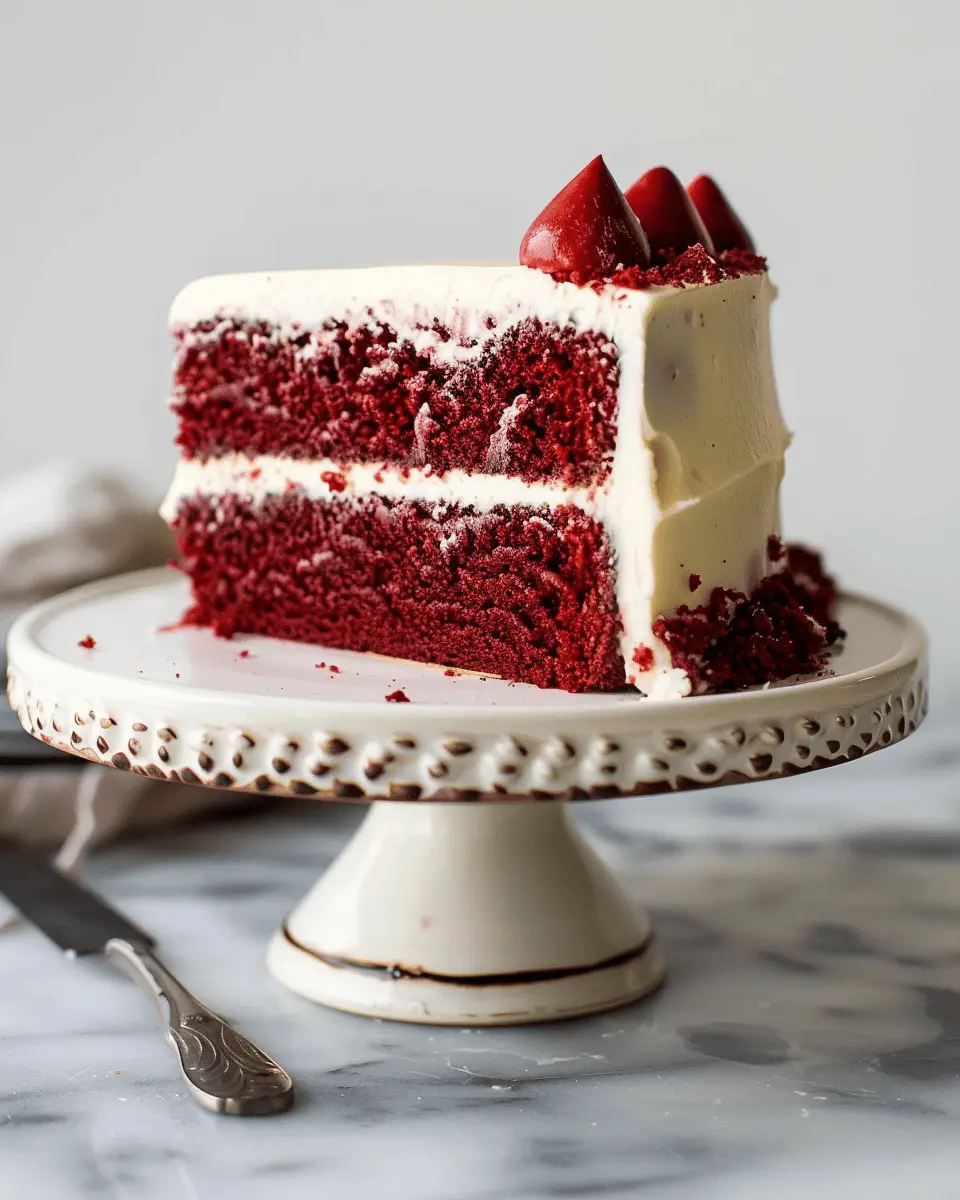
Once your red velvet buttermilk cake layers have completely cooled, it’s time to assemble! Place one layer on a serving plate, spread a generous amount of cream cheese frosting on top, then carefully place the second layer over it. Finish by frosting the top and sides. You can even sprinkle some red velvet crumbs on top for a visual touch.
And there you have it! A show-stopping dessert ready to impress. Each bite will delight your guests, or perhaps just you on a quiet evening—after all, who says you can’t treat yourself? Enjoy your baking adventure!
Variations on Red Velvet Buttermilk Cake
Red Velvet Cupcakes
If you’re looking for a delightful twist on the classic red velvet buttermilk cake recipe, why not give red velvet cupcakes a try? Not only are they perfectly portioned, but they also make great treats for parties or cozy gatherings. Simply follow your favorite red velvet cake recipe but adjust the baking time—about 20-22 minutes should do the trick. Top them off with a swirl of cream cheese frosting for that velvety finish, or explore flavors like vanilla buttercream or chocolate ganache.
Red Velvet Cake with Different Frostings
Switching up the frosting can transform your red velvet cake into something new! While cream cheese frosting is a classic, try pairing it with whipped cream or chocolate frosting for a richer taste. Feeling adventurous? Go for a coconut cream frosting which beautifully balances the cake’s flavor, or a peanut butter frosting for an unexpected twist that is sure to indulge your taste buds. Check out Baking Magazine for more creative frosting ideas!
Gluten-Free Red Velvet Cake Alternative
For those following a gluten-free diet, don’t worry—there are simple adjustments you can make to still enjoy this luscious cake! Use an all-purpose gluten-free flour blend to replace regular flour in your red velvet buttermilk cake recipe. Many blends include xanthan gum, which helps mimic the texture of traditional cakes. This way, you don’t have to compromise on flavor or style while catering to dietary needs. Plus, gluten-free cakes often surprise with their moistness!
With these variations, your baking adventures will surely continue! Enjoy experimenting with your red velvet creations, and share your favorite combos!
Cooking Tips and Notes for Red Velvet Buttermilk Cake
Ensuring a tender crumb
When following your red velvet buttermilk cake recipe, using room temperature ingredients helps achieve that desired tender crumb. Let your eggs and buttermilk sit out for about 30 minutes before mixing. This simple step promotes better emulsification, which makes all the difference in texture!
How to avoid common baking pitfalls
Baking is all about precision and attention to detail. Common pitfalls include overmixing the batter and incorrect oven temperatures. To prevent this, mix just until you see no dry ingredients—your cake will thank you! Additionally, consider investing in an oven thermometer to ensure accuracy; according to a source from the American Test Kitchen, many home ovens can be off by as much as 25 degrees.
Best practices for frosting application
For the ultimate finish, ensure your red velvet buttermilk cake is fully cooled. A crumb coat—a thin layer of frosting applied first—can help lock in crumbs and create a smooth final layer. Don’t be shy with your frosting; use an offset spatula for a professional touch. For tips on frosting techniques, check out expert advice from Wilton.
Happy baking, and may your cake always be a showstopper!
Serving Suggestions for Red Velvet Buttermilk Cake
Creative serving ideas for impressing guests
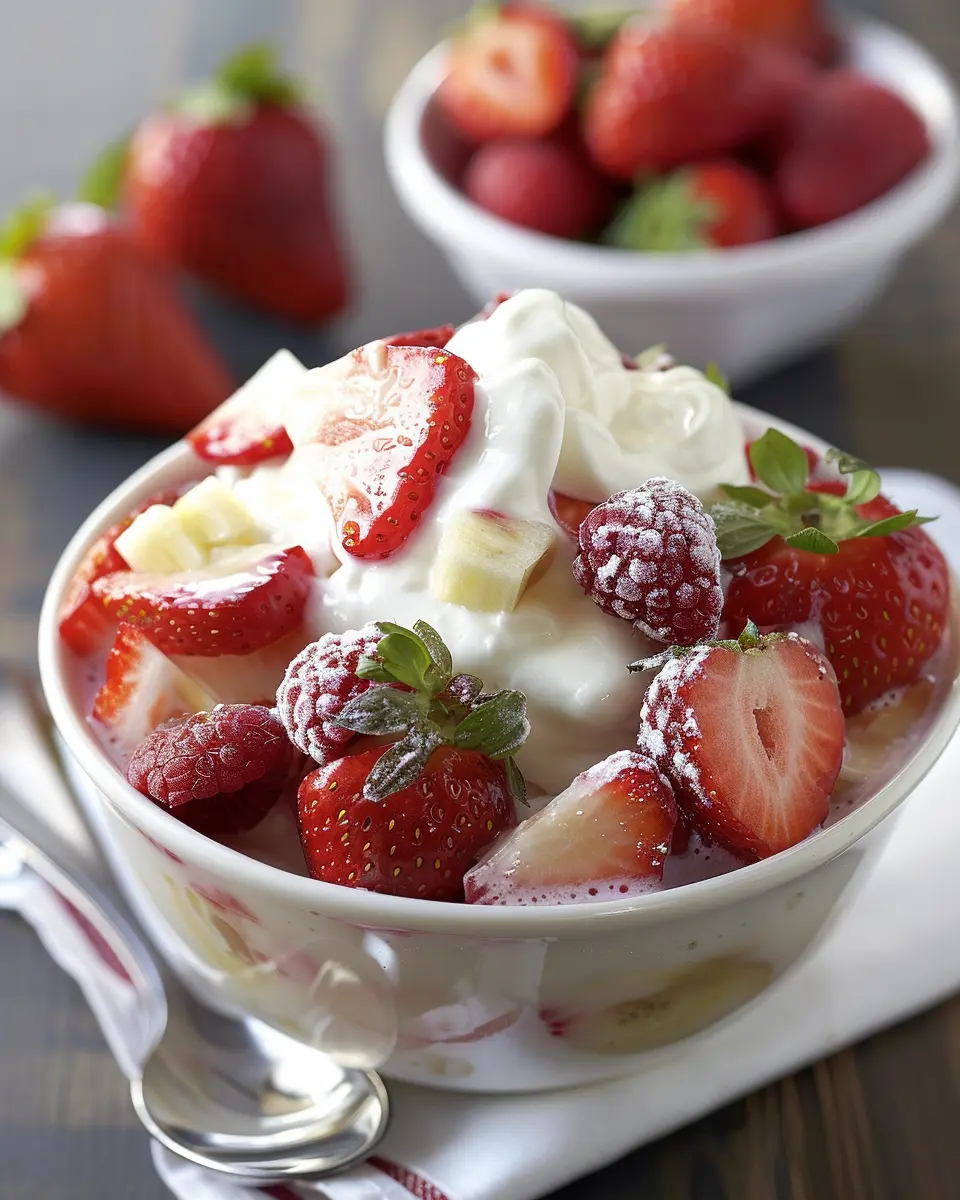
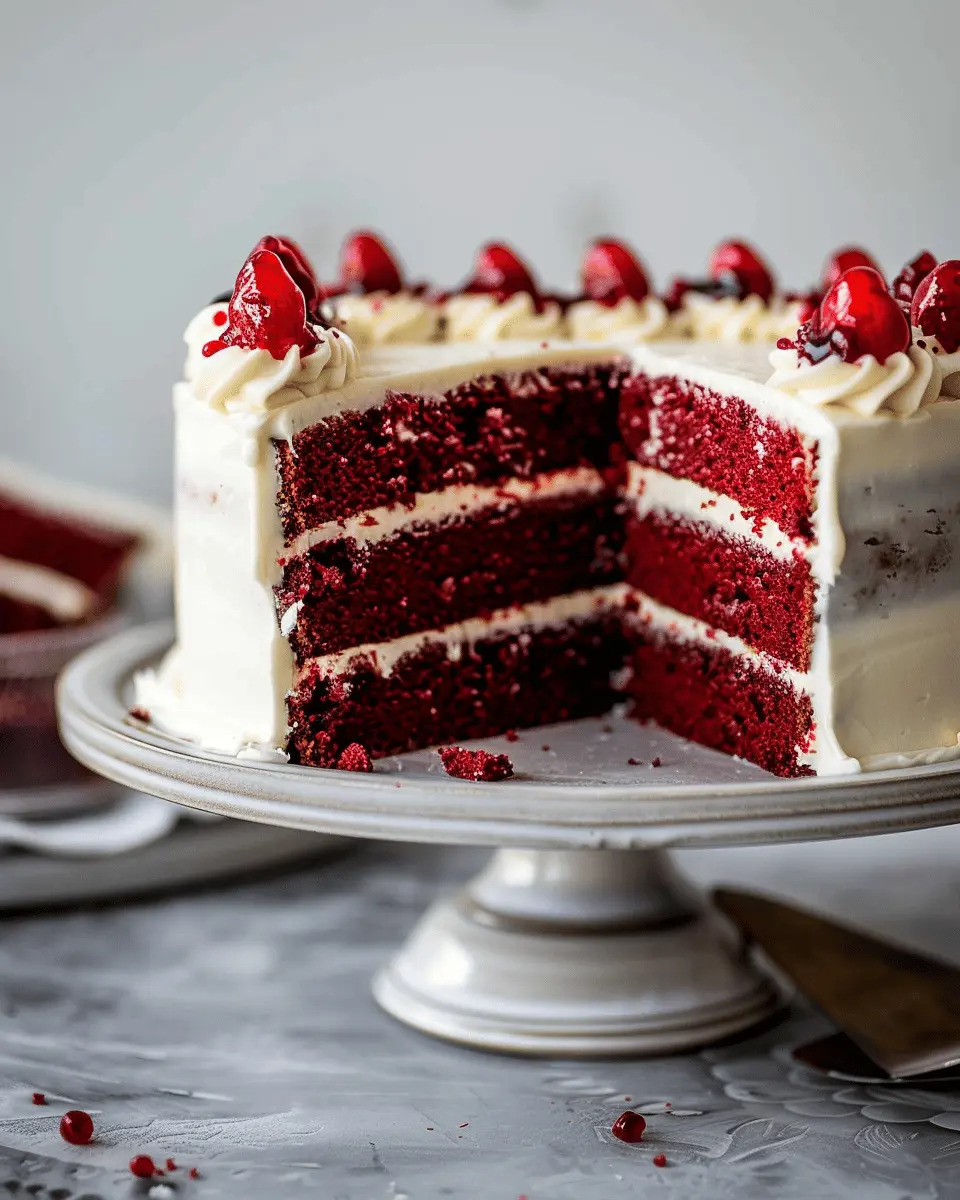
When it comes to serving your red velvet buttermilk cake, presentation can elevate the experience. Consider layering slices on a beautiful cake stand and garnishing with fresh berries or edible flowers. Not only does this add color, but it also creates a refined, festive atmosphere. Alternatively, individual mini cakes in glass jars not only look cute but also make for an engaging way for guests to dig in. Have you ever thought about topping the cake with a light drizzle of cream cheese glaze? It’s an easy way to add a touch of elegance. You can find inspiration for cake styling techniques from resources like Taste of Home.
Pairing suggestions for drinks and desserts
To complement your red velvet buttermilk cake recipe, serve it with a side of delicious beverages. A rich, creamy vanilla latte or an aromatic chai tea could match the cake’s flavors beautifully. For dessert pairings, consider fresh, tangy sorbet or a scoop of vanilla bean ice cream. The cold sweetness will balance the cake’s rich frosting, creating a heavenly combination that keeps your taste buds dancing! For more dessert pairings, check out Food52’s guide.
Elevate your gatherings and delight your guests with these thoughtful serving suggestions!
Time Breakdown for Red Velvet Buttermilk Cake
When diving into this delightful red velvet buttermilk cake recipe, understanding the time commitment can make your baking experience smoother and more enjoyable. Here’s how to break it down:
Preparation Time
Getting everything ready is half the battle. Set aside about 20 minutes to gather your ingredients, measure them out, and mix your batter. This is the perfect time to sneak in a little fun, maybe play your favorite playlist while you prep!
Baking Time
Once your batter is ready, pour it into your cake pans and pop them in the oven. You’ll need about 30-35 minutes of baking time. Make sure to check for doneness by inserting a toothpick in the center; it should come out clean. If you’re curious about why checking at the right time is crucial, consider reading this baking science article.
Cooling and Decorating Time
After baking, let your cakes cool for about 15-20 minutes in the pans, and then transfer them to wire racks for at least 30 minutes before frosting. This is your chance to whip up the delicious cream cheese frosting while enjoying the enticing aroma—what’s not to love?
This time breakdown ensures you can enjoy the entire baking experience without feeling rushed. Happy baking!
Nutritional Facts for Red Velvet Buttermilk Cake
When indulging in a slice of this decadent red velvet buttermilk cake, it’s good to know what you’re treating yourself to!
Calories per slice
Each slice of this delightful cake typically contains around 350 calories. It’s a perfect dessert for special occasions, but be mindful of portions if you’re keeping an eye on your daily intake.
Breakdown of key nutrients
- Fat: Approximately 15g, depending on the recipe variations.
- Carbohydrates: About 50g, providing that satisfying sweetness.
- Protein: Around 4g, thanks to dairy and eggs.
- Dietary Fiber: 1g, a tiny but helpful boost!
This red velvet buttermilk cake recipe can be modified to enhance its nutritional profile. For instance, using lower-fat options could bring the calorie count down without sacrificing moisture.
Considerations for dietary restrictions
Concerned about allergies or dietary needs?
- Gluten-free: Substitute all-purpose flour with gluten-free flour blends.
- Dairy-free: Swap buttermilk with plant-based milks and add a little apple cider vinegar for tang.
- Reduced sugar: Experiment with natural sweeteners like honey or maple syrup.
For more tailored advice on baking alternatives, check out resources like EatingWell. Enjoy your cake while accommodating your dietary lifestyle!
FAQs about Red Velvet Buttermilk Cake
What makes red velvet cake different?
Red velvet cake is known for its striking red hue, which is most often achieved through the use of cocoa powder and food coloring. But the magic doesn’t stop there! This cake is distinct for its velvety texture and subtle chocolate flavor, balanced perfectly by a tangy cream cheese frosting. The addition of buttermilk in our red velvet buttermilk cake recipe enhances the cake’s moistness and flavor, making each bite a delightful experience that can’t be easily replicated. If you’re intrigued, you can dive deeper into the science behind the color at Serious Eats!
Can I substitute ingredients in this recipe?
Absolutely! One of the joys of baking is how adaptable it can be. If you don’t have buttermilk on hand, you can create a quick substitute using milk and a splash of vinegar or lemon juice. Additionally, if you’re looking for a lighter option, consider using Greek yogurt for creaminess without all the fat. Other substitutions might include:
- Unsweetened applesauce for oil
- Cake flour in place of all-purpose flour for a lighter texture
- Natural food coloring, if you’re wary of artificial dyes
Keep in mind, though, that each substitution may slightly alter the final flavor and texture of your cake.
How do I store leftover cake?
Storing your delicious red velvet buttermilk cake can be straightforward! If there’s any left after your gathering (which is unlikely!), store it in an airtight container at room temperature for up to three days. If you want to extend its life, refrigerate it, which will keep it fresh for about a week. Just ensure you bring it back to room temperature before serving—there’s nothing quite like a slice of cake enjoyed at its best!
With these tips, baking and enjoying your red velvet buttermilk cake can be a breeze. Happy baking!
Conclusion on Red Velvet Buttermilk Cake
Give This Recipe a Go!
If you’re looking for a beautiful treat to impress your friends or simply a delightful way to enjoy a cozy day at home, the red velvet buttermilk cake recipe is an excellent choice. Trust me; the rich flavors and moist texture paired with creamy frosting are worth every step. Don’t be afraid to get your hands a little dirty in the kitchen – that’s where the magic happens!
The Joy of Homemade Baking
Nothing quite compares to the satisfaction of baking from scratch. The aroma of freshly baked cake wafting through your home creates a sense of warmth and comfort. Plus, sharing your homemade goodies is a surefire way to spread joy among friends and family. So don’t hesitate; give this cake a try and embrace the sweet rewards of your creativity!
For more baking inspiration, you can check out resources on baking basics or frosting techniques that can elevate your skills.
Red Velvet Buttermilk Cake Recipe: Indulge in a Decadent Slice
A delightful red velvet cake that is moist and rich, perfect for any celebration.
- Prep Time: 20 minutes
- Cook Time: 30 minutes
- Total Time: 50 minutes
- Yield: 12 servings 1x
- Category: Dessert
- Method: Baking
- Cuisine: American
- Diet: Vegetarian
Ingredients
- 2 cups all-purpose flour
- 1 ½ cups granulated sugar
- 1 teaspoon baking soda
- 1 teaspoon salt
- 1 tablespoon cocoa powder
- 1 ½ cups vegetable oil
- 1 cup buttermilk
- 2 large eggs
- 2 tablespoons red food coloring
- 1 teaspoon vanilla extract
- 1 teaspoon white vinegar
Instructions
- Preheat the oven to 350°F (175°C).
- In a bowl, mix the flour, sugar, baking soda, salt, and cocoa powder.
- In another bowl, whisk together the oil, buttermilk, eggs, food coloring, vanilla, and vinegar.
- Combine the wet and dry ingredients until smooth.
- Pour the batter into prepared cake pans.
- Bake for 25-30 minutes, or until a toothpick comes out clean.
- Let cool before frosting.
Notes
- Store leftover cake in an airtight container.
- Frost with cream cheese frosting for added flavor.
Nutrition
- Serving Size: 1 slice
- Calories: 350
- Sugar: 24g
- Sodium: 320mg
- Fat: 18g
- Saturated Fat: 4g
- Unsaturated Fat: 12g
- Trans Fat: 0g
- Carbohydrates: 50g
- Fiber: 1g
- Protein: 4g
- Cholesterol: 40mg
Keywords: red velvet cake, buttermilk cake, dessert, baking